How to propagate houseplants
Propagating means turning one plant into many. It’s incredibly easy to do and a good way to clone your favourite plants.
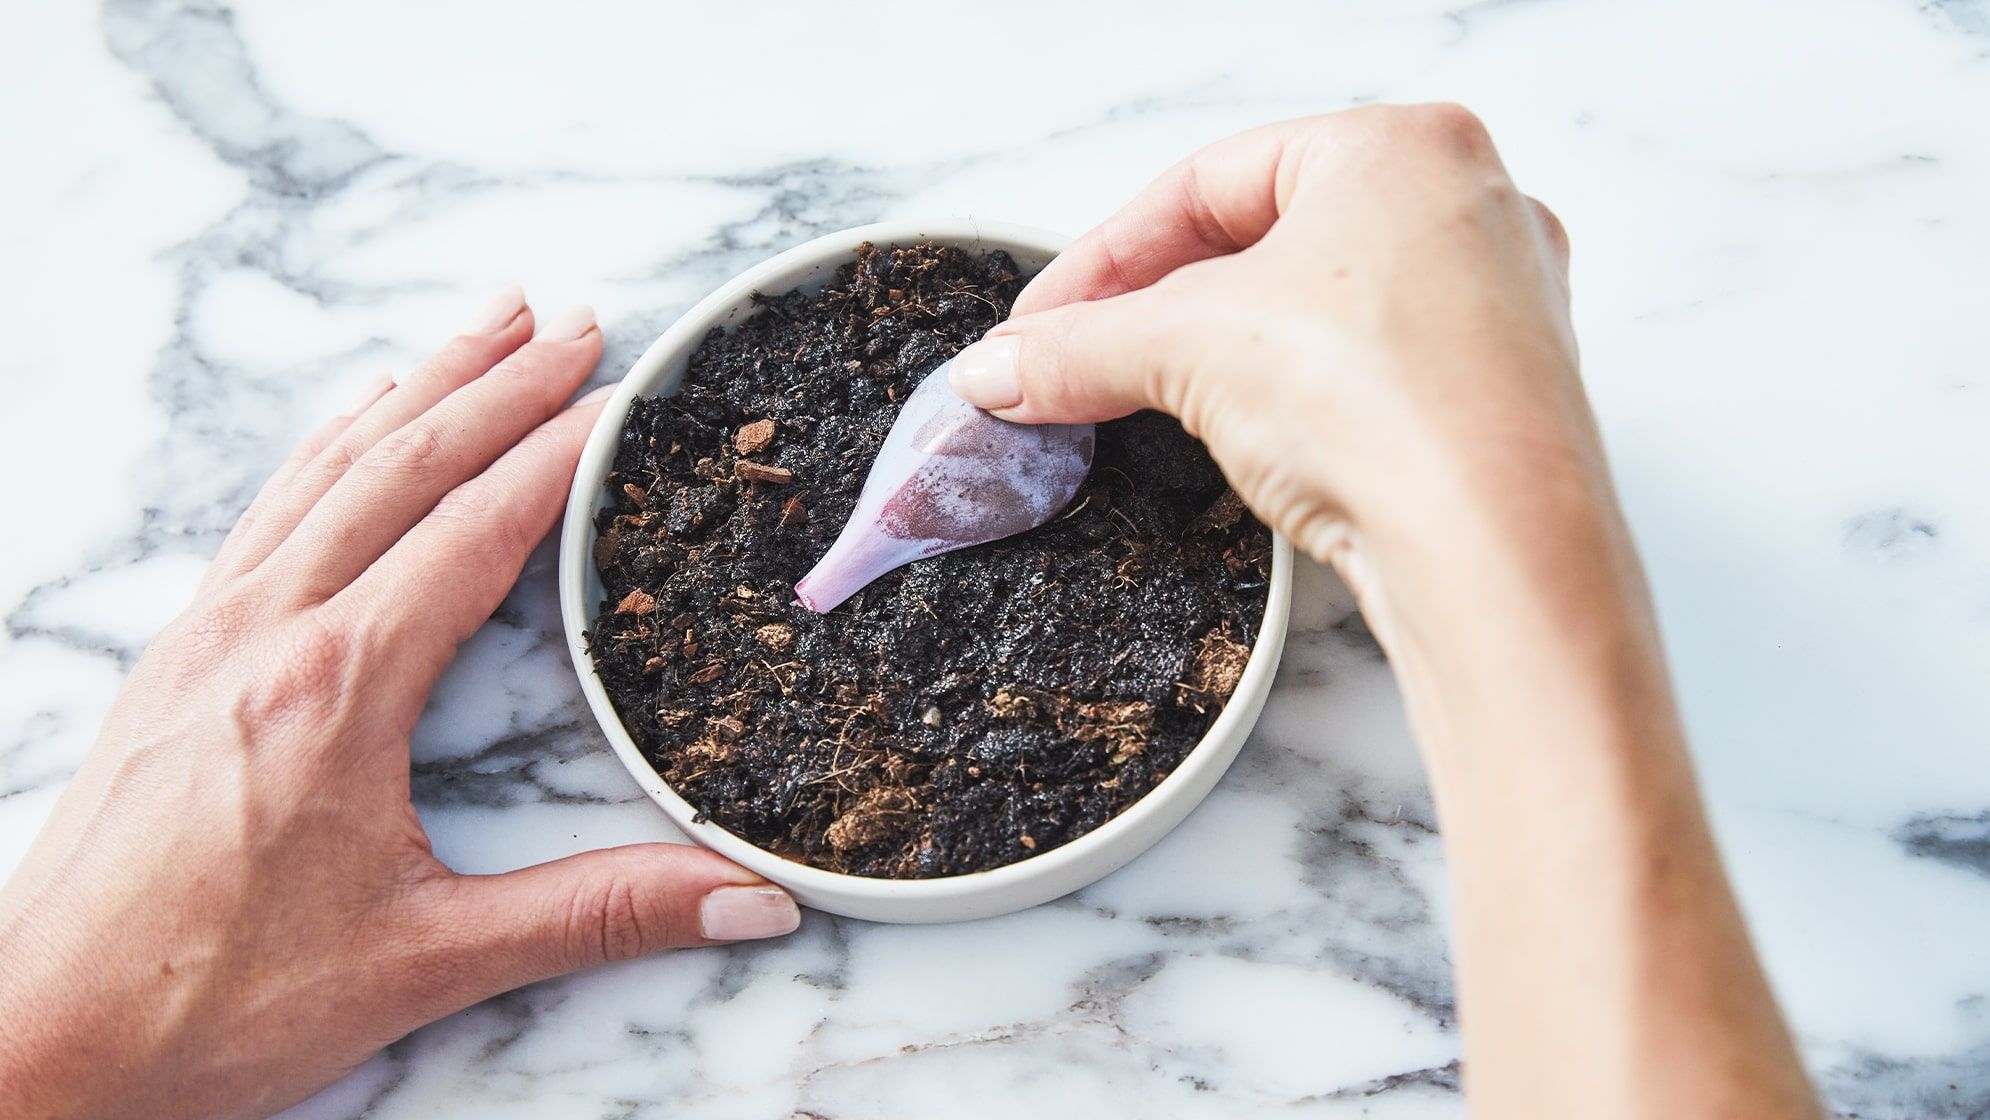
Propagating is simply taking part of a mature plant and growing it into a whole new plant. It’s straightforward and anyone can do it. Here’s how to propagate your indoor plants.
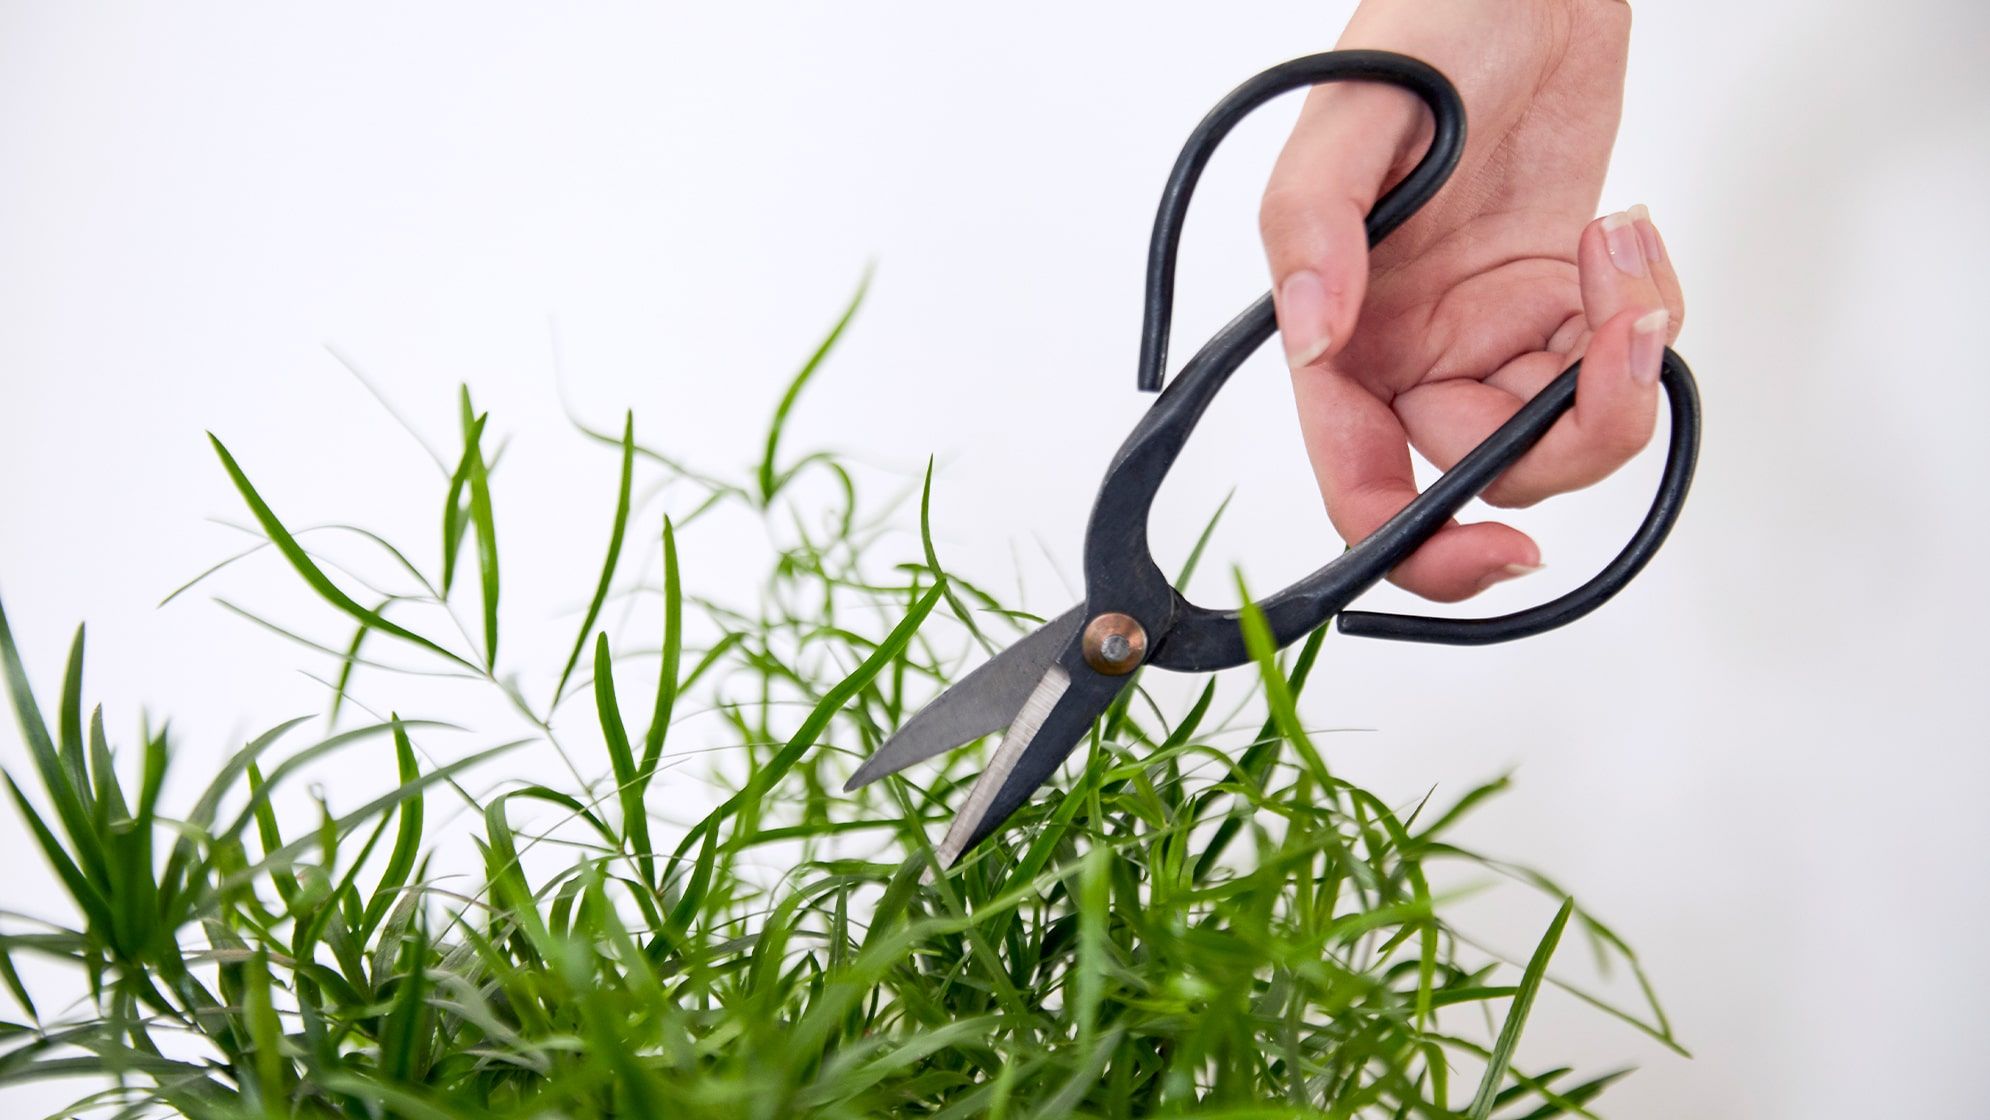
First things first, the best time to propagate your plants is in late Spring, early Summer, when your plant is in full growth mode. Secondly, always make sure you're using a healthy, pest and disease free plant to propagate from, and make sure you’re using clean secateurs.
There are three different ways of propagating houseplants:
- Cuttings. Chopping off part of a mature plant and rooting it in water or soil
- Division. Splitting a mature plant at the roots to make more plants
- Offsets. Picking ‘pups’, or baby plants, from a mature plant
Propagating doesn’t always work, but it’s always worth trying. What’s to lose? Let’s get into the different methods.
How to propagate cuttings
As you’d imagine, this involves cutting off part of your plant (it won’t hurt). There are two kinds of cuttings: leaf cuttings and stem cuttings.
Stem cutting
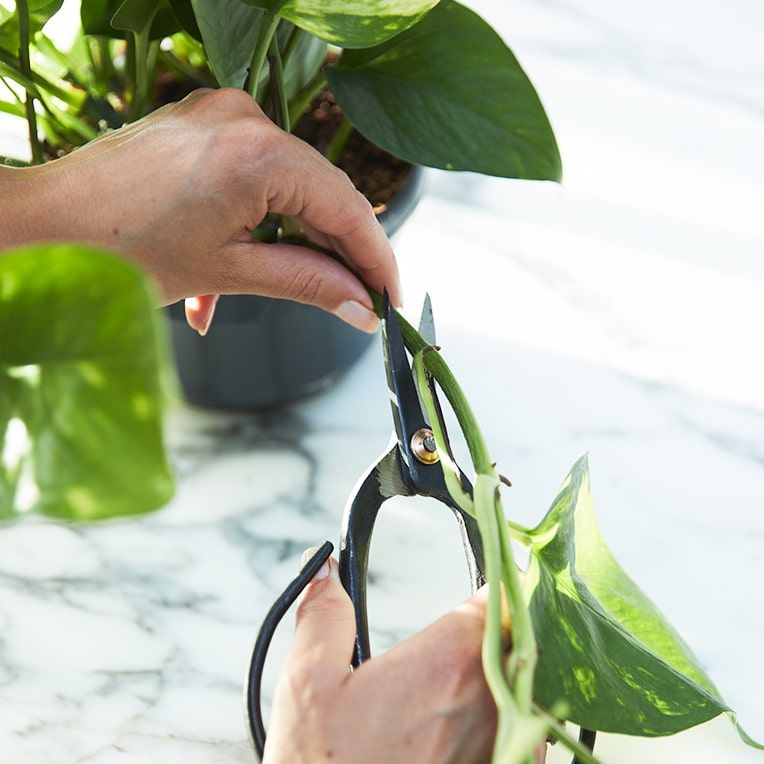
So easy. This works for most plants that have lots of leaves growing from long stems, like pothos, monstera and philodendron.
- From the tip of the stem count back to a minimum of 3 nodes (nodes are the notches along the stem where the leaves grow from), giving you about 10cm of plant material
- Make a clean cut just below the node and trim off the remaining bit of stem to just above the next node on your parent plant (otherwise it will die back and look ugly)
- Snip off all of the lower leaves from your cutting (leave one or two at the top)
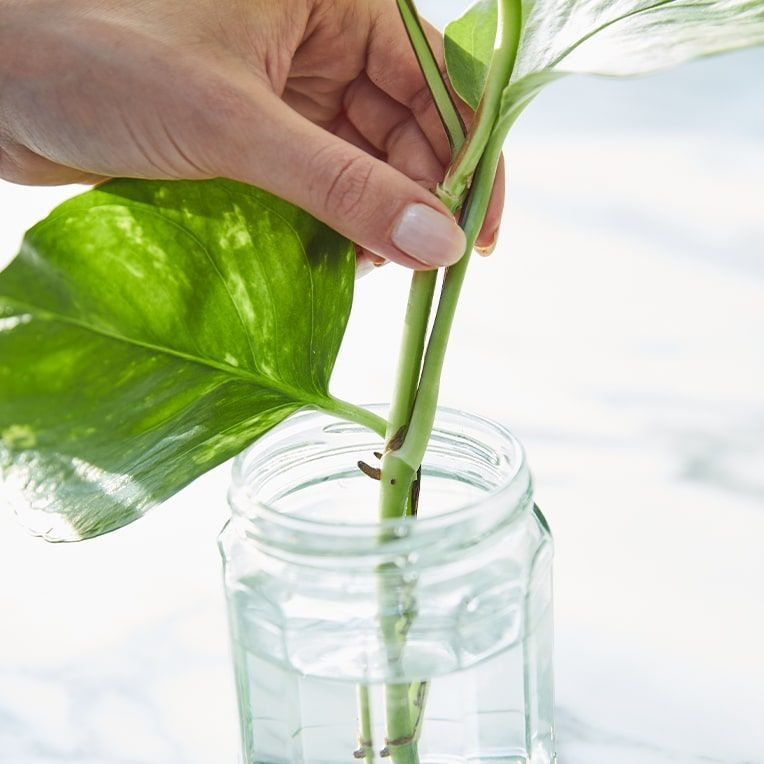
- Pop your cutting in a glass of clean water. No leaves should be under the water because they’ll rot, and all of the exposed nodes should be submerged - these are where your cutting will root from
- Leave the glass/jar near a light source until roots develop
- Refresh and/or top up the water regularly
- Once the stem has roots, plant it in soil and you’re done
Leaf cutting
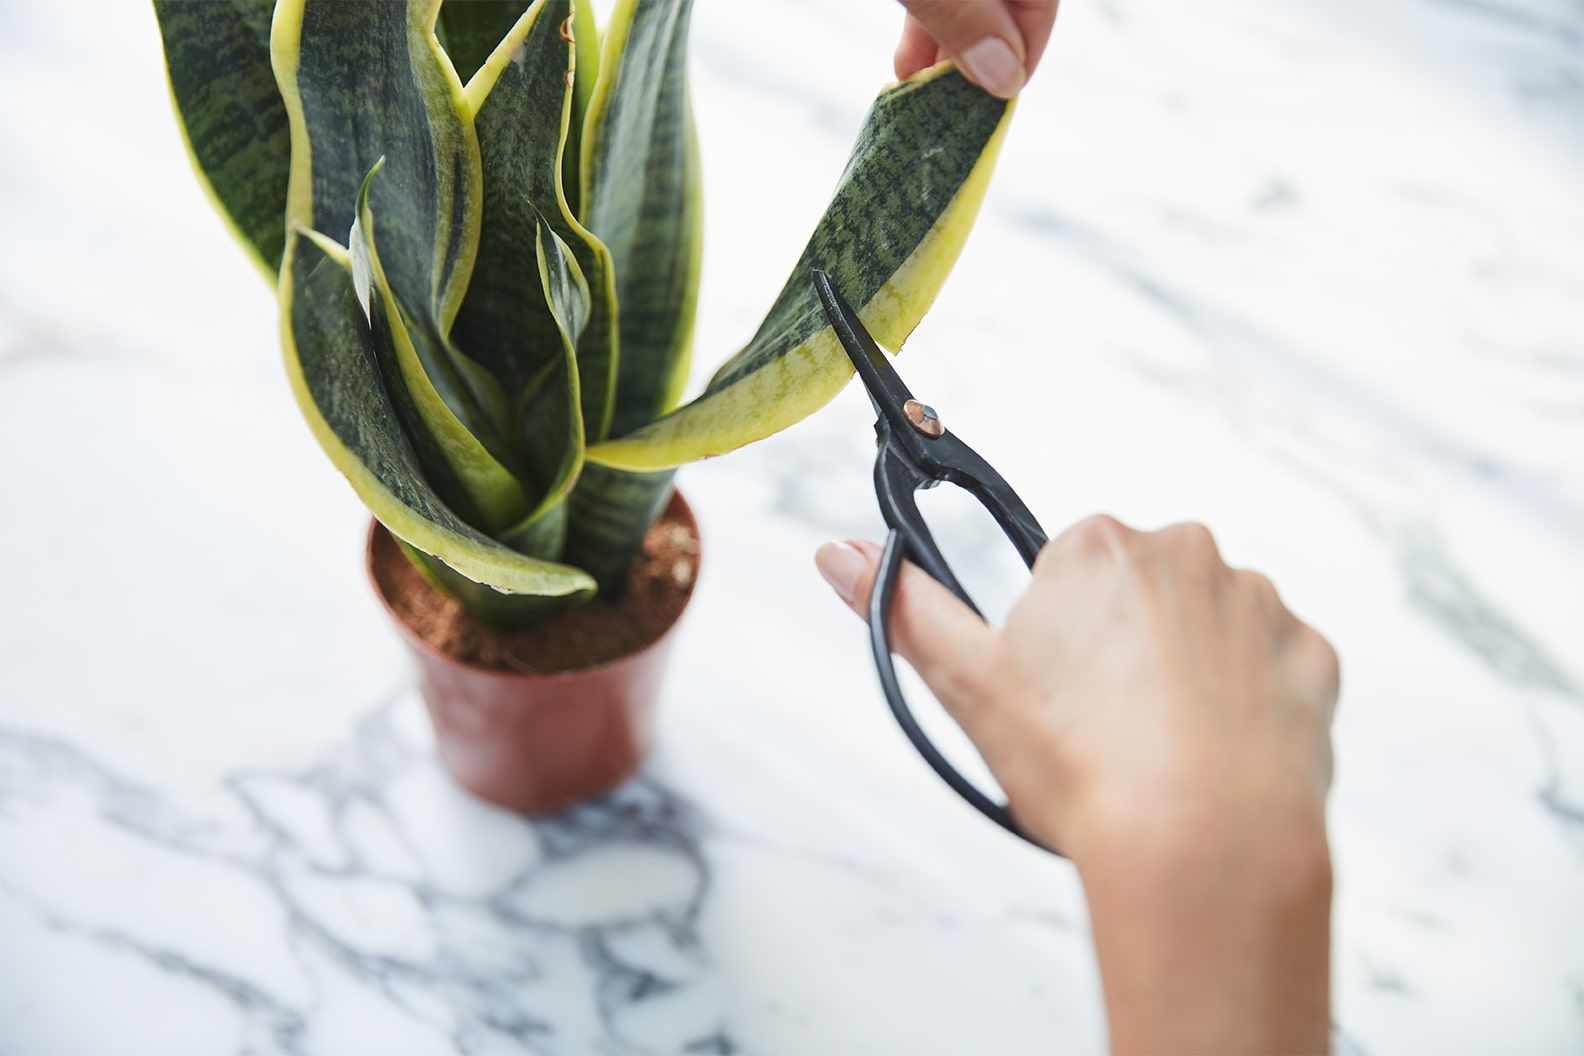
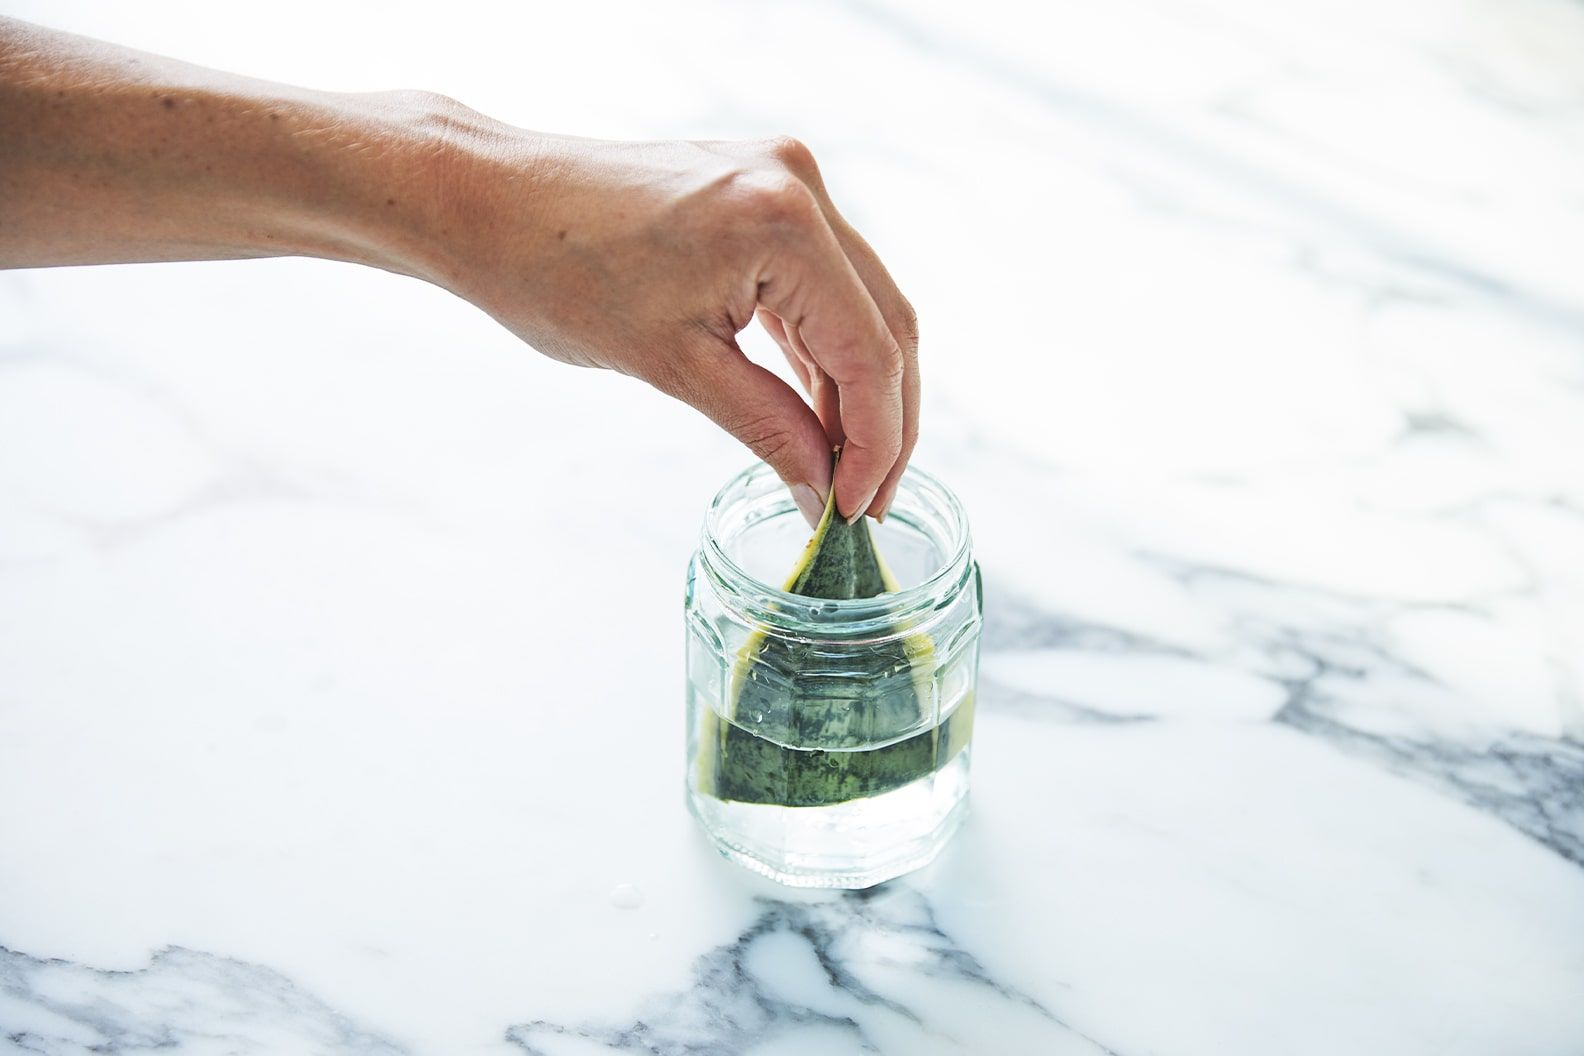
This works brilliantly for snake plants. Please note it can take several weeks for roots to develop.
- Cut a leaf from your plant, just above the soil surface
- You can use the whole leaf or if you want multiple plants, cut this leaf into 4-5cm sections, making sure you keep track of the ‘top’ and ‘bottom’ of each section (remember which direction the leaf was growing)
- At the bottom of each leaf section, cut a notch or V shape, angling your secateurs at a 45 degree angle from the corners towards the centre. This helps increase the surface area for maximum root growth
- Leave your cutting/s somewhere safe to dry for 48 hours, so the cut edges harden
- Once your cutting/s have calloused over, pop the angled end into a glass of water or nestle it in into a pot of free draining compost
- Pop your pot or glass in a sunny spot and either mist the soil to keep it moist (but not wet) or keep the water topped up and refreshed
- Wait for roots to grow
How to propagate by division
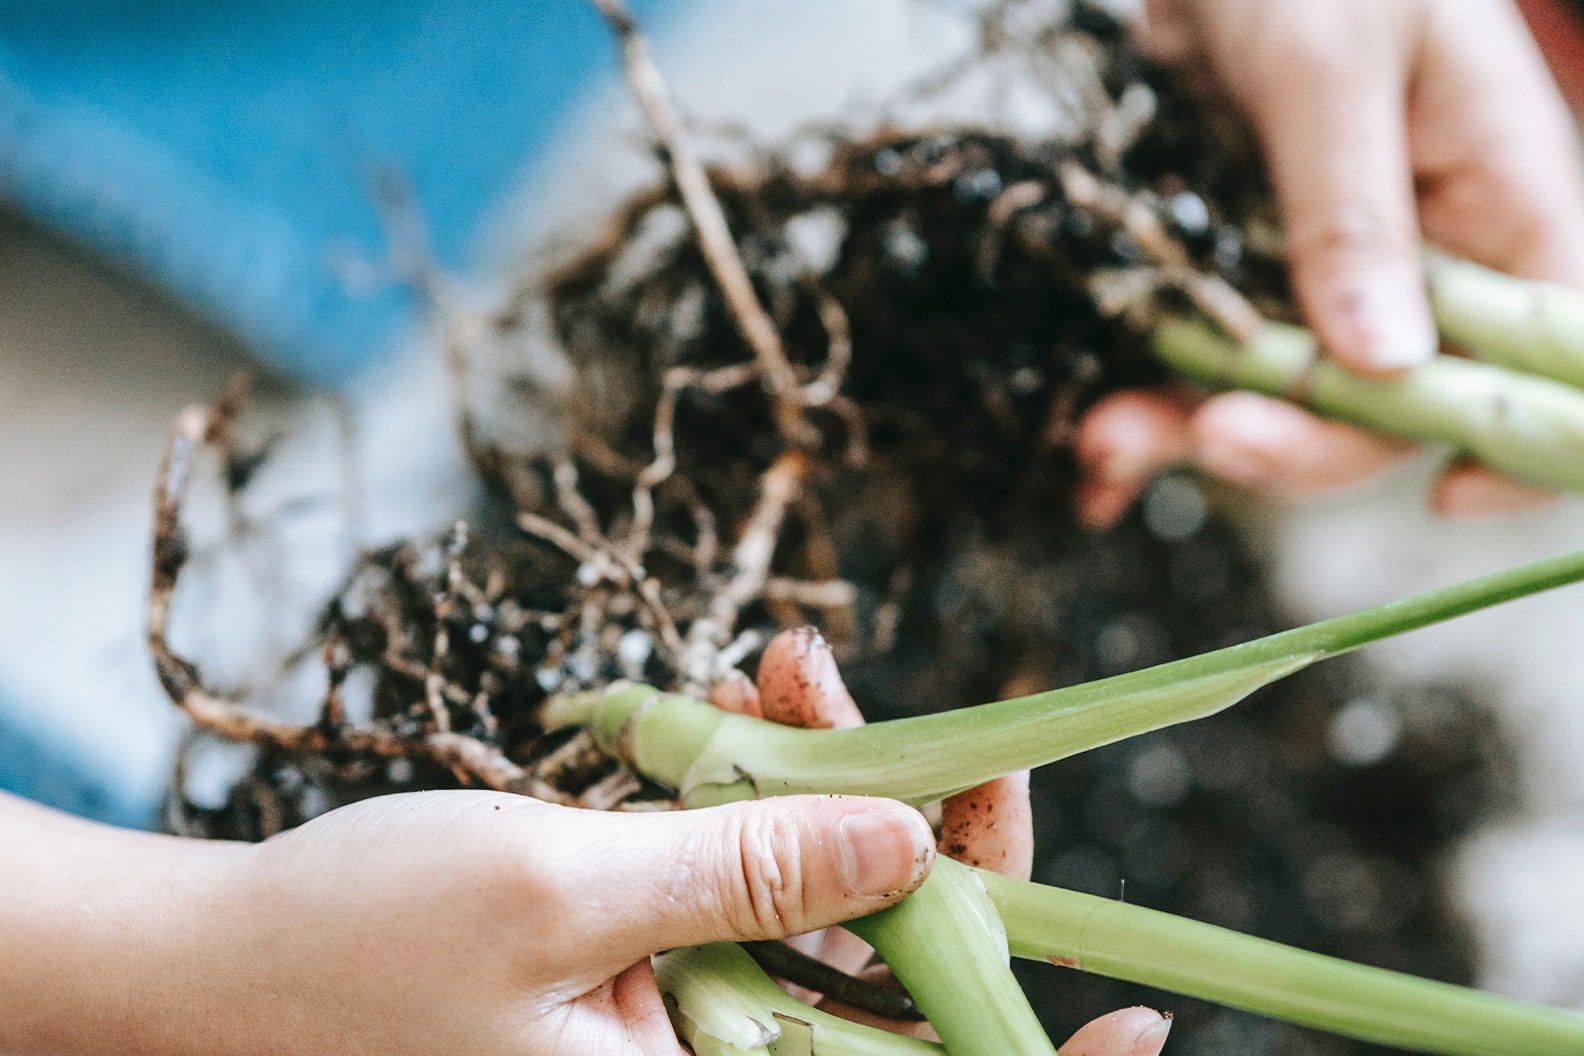
Division is when you tear your plant’s root ball into multiple pieces and repot each piece to become its own plant. Works for plants like peace lilies or most ferns. They need to be healthy, mature plants.
You’ll want to do this outside or over some newspaper. It can get messy.
- Remove your plant from its nursery pot, to expose the roots
- Carefully split the root ball into half or quarters, making sure that each section has a healthy chunk of roots and a healthy bunch of foliage. If the root ball is really tight and you can’t break it apart with your hands, you might need to cut or saw through it. Don’t worry, your plant can handle it.
- Pot each section into a nursery pot with fresh soil. Make sure it’s quite a snug fit and that you pot up to the previous soil level, so that no roots are exposed. Gently firm the soil in around the root ball and tap the pot a few times to make sure the soil has settled.
- Water as normal.
- Your new plants may sulk for a few days but once they’ve found their feet (started to grow new roots into the fresh soil), they will perk up.
How to propagate offsets
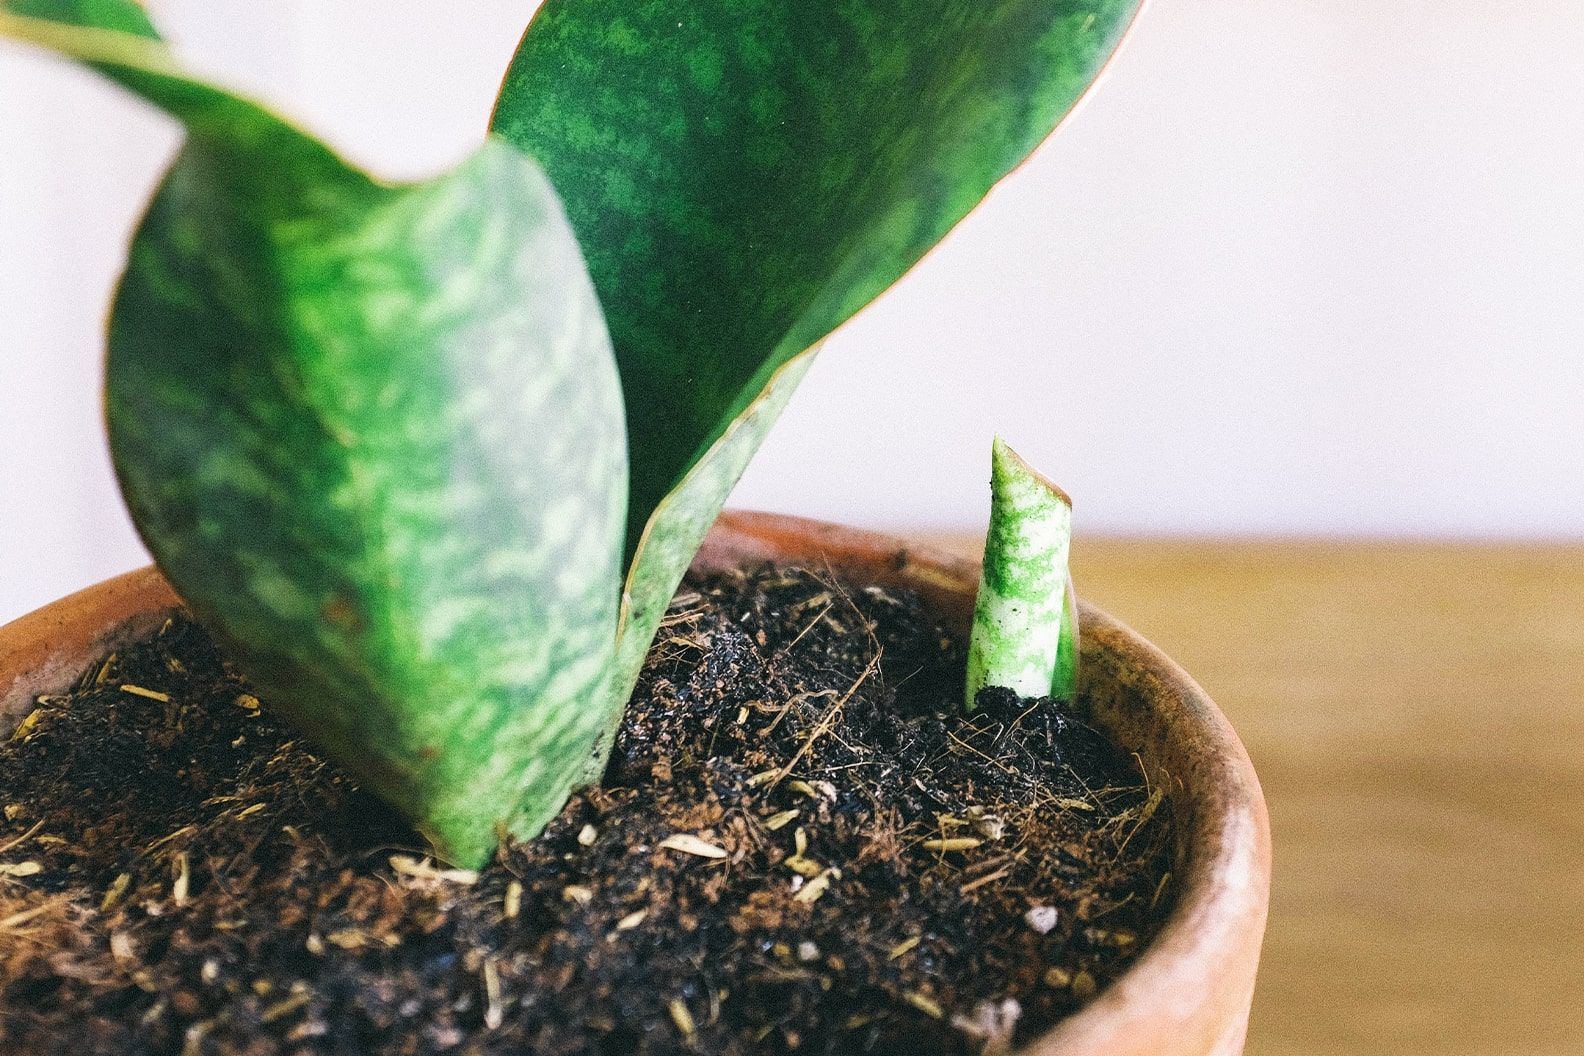
With this kind of propagation the plant does most of the work for you. Offsets are also known as pups. They’re miniature versions of the main ‘mother’ plant and you’ll see them growing in the soil next to her, or hanging off of her on a long stem.
You should only remove offsets that already look like mini plants, not ones that are just developing. Most often they already have roots so they’re super easy to propagate.
- For offsets that appear in the soil (on plants like aloe, pilea and snake plants) you will need to remove the plant from its nursery pot, exposing the roots. Gently break or cut away the baby plants from the parent plant - making sure that each baby plant has some roots, and that the mother plant has plenty of roots left. You may be able to wiggle the plantlets free, or tease the roots apart to separate them. Be delicate. Repot the mother plant back into its original pot (topping up with fresh compost) and pot up your offsets into their own little pots. Water them in lightly and watch them grow
- For offsets that hang from the mother plant (like spider plants), there are three easy methods:
If the ‘spiderette’ already has roots, you can cut it from the mother plant (trim off the long stem from the base of the mother plant and spiderette, it’s no longer necessary) and pot it straight into its own little pot
If it doesn’t already have roots you can set up some little pots full of compost around your mother plant and pin the spiderettes down onto the soil surface (re-shape a paperclip to do this). Lightly water them in and they will root in no time. Once they’ve rooted you can snip them off from the mother plant and trim away the connecting stems.
Lastly, if your spiderettes don’t already have roots you can cut them away from the mother plant and pop their bottoms in a glass or shallow dish of water, leave these in a sunny spot until they’ve grown roots, and then pot these up as above.
How to propagate succulents
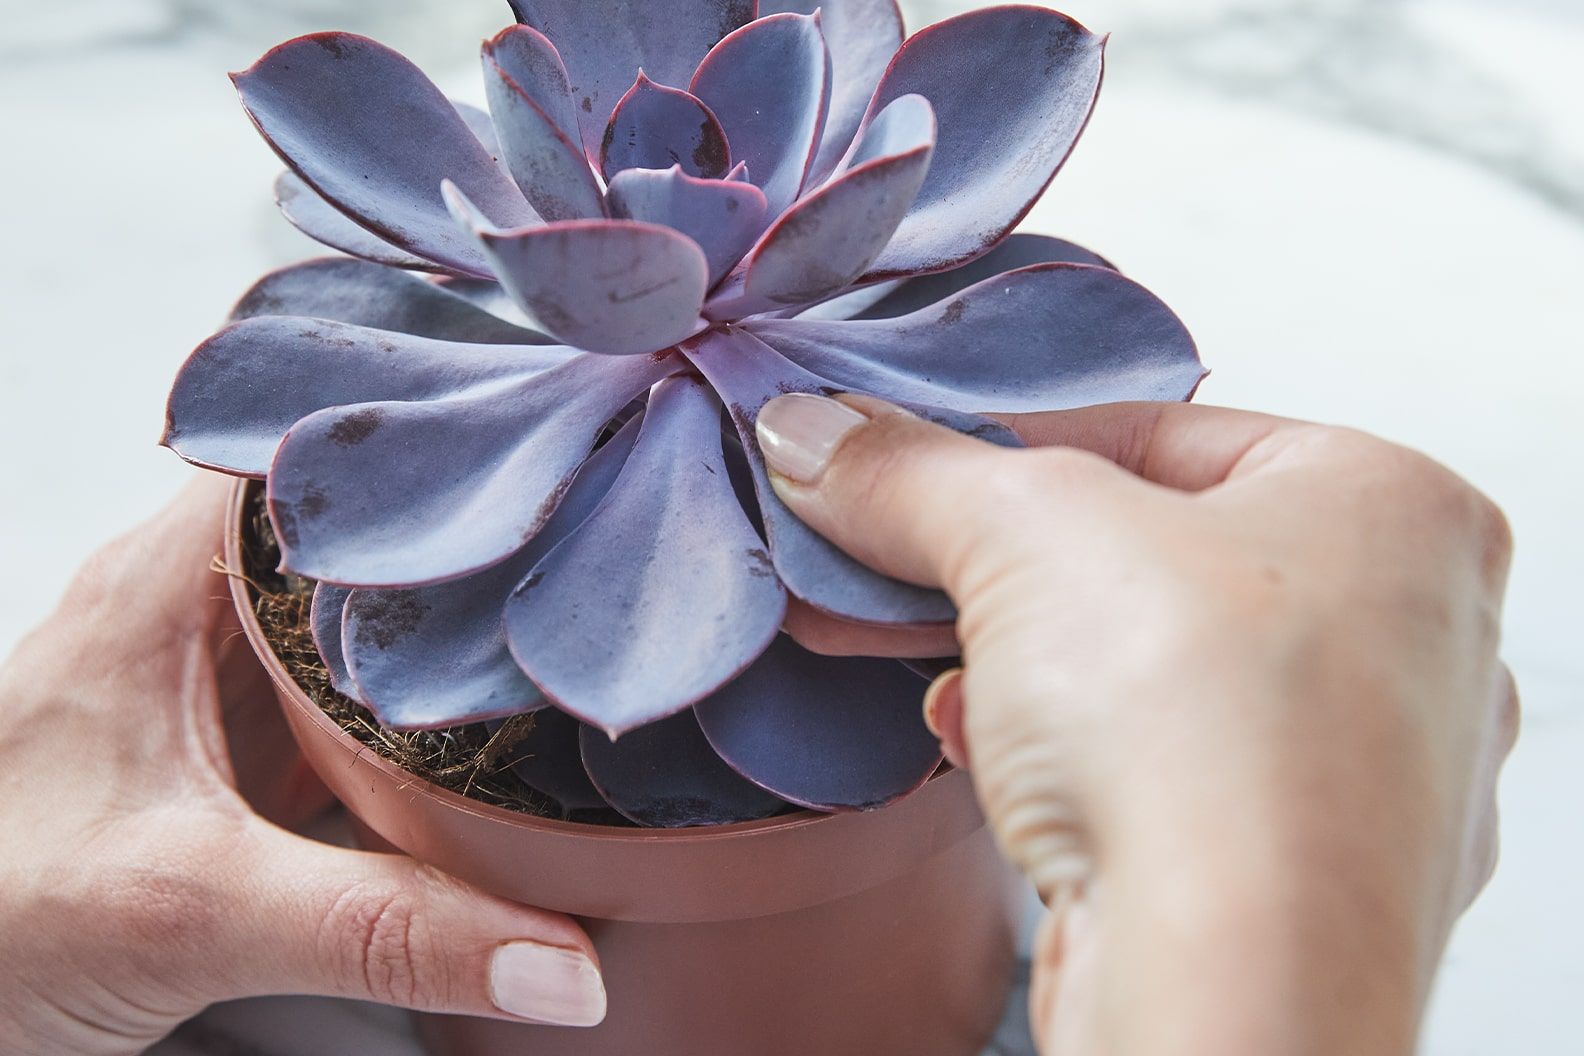
Any healthy succulent is easy to propagate. With a little care and attention, you can grow your collection in no time. You can create new succulents by taking a stem cutting, or if you have a rosette-style succulent, an individual leaf will do.
- For stem cuttings, use sharp scissors to snip off a leaf-covered stem. You're looking for a good bunch of leaves with about five centimetres of stem
- For individual leaves, pluck leaves from the parent plant by twisting the leaf gently, close to the stem
- Leave your stem or leaves somewhere warm and dry for at least a week so that they can callous over (this prevents them from rotting)
- Fill a shallow nursery pot with free draining compost and pop this in a bowl of water so that it can soak up from the bottom. Once the surface of the soil is moist, take it out and let it drain
- Nestle your callused cuttings and leaves very gently into the moist soil (not very deep) and place them in a sunny spot
- Lightly moisten the soil every four to five days
After six weeks, you'll notice baby pups growing from the parent leaf. Now's the time to repot. Transfer your baby succulents to their own nursery pot and cover their roots with soil. Congratulations on your new arrivals!
Not all plants can reproduced through propagation. Some will only grow from seed.
You’ll also find that some propagation attempts won’t work, but don’t be put off if your first try doesn’t go well. Keep trying. There’s nothing like the satisfaction of giving a plant to a friend knowing you grew it entirely yourself.
In this article
Rewild your inbox
Plant tips. Special offers. No spam.
You might like
Complete guide to pruning
A regular haircut keeps plants neat

Complete guide to repotting
Learn how and when to upgrade your plant’s pot

How to fix leaning plants
Get wonky plants back on track


