How to sow seeds
Spring has sprung and it’s seed sowing time. Give your plants a head-start by sowing them indoors. It’s easy and fun!
Sowing seeds is one of the most rewarding gardening activities you can do. It’s a great way to get children excited about gardening, but it’s as satisfying for adults. Watching life grow and nurturing seedlings into full-grown plants really brings the life cycle of nature home. It’s also a much cheaper and ethical way of growing your own food and flowers. In this article we’ll talk you through what you need to get growing as well as some important do’s and don’t to ensure your success as a plant parent.
What you will need
- Seeds
- Seed trays
- Seed compost or sieved multipurpose Compost
- Watering can with a rose
- A propagator lid, piece of glass or a clear plastic food tray, to cover
- A sunny windowsill
How to get started
First things first, seeds should be sown in Spring. By sowing them in March - April time, they should be ready to plant out into your pots or garden by May. The reason you sow them indoors at this time of year is because it’s often too cold to sow them outdoors and if you wait until after the latest frosts, when it’s warm enough in May, you won’t have any established plants until June. That’s already half way through the year!
The second thing to know is that not all seeds need to be started off indoors. Some seeds, like wildflowers, are better sown directly onto the patch of earth where you want them to grow, either in Autumn for flowering the following year, or in Spring, for flowering the same year. Because they’re wildflowers they’re more tolerant, and sometimes even need the cold to help them germinate. Just make sure to keep the patch well watered for the first few weeks after sowing. For more ‘tender’ or less ‘hardy’ plants (horti terms for plants that don’t enjoy frost or snow), here’s how to do it . . .
Steps to seed sowing
- Overfill your seed tray with compost then wipe off the excess, making sure that each module of the tray is nice and full
*if you’re not using seed sowing compost specifically, then you’ll need to use a large sieve or riddle, to process out all of the larger, woodier and more fibrous bits of your general/multi -purpose compost. This is because seeds need maximum contact with the soil to germinate and big bits of bark or coir will get in the way.
- Gently press down on the compost so that the surface is flat and firm and sits about 1cm below the surface of the tray
- If the seeds are really tiny (like Poppy seeds), then pour them into your palm, take a pinch, and sprinkle them evenly across the surface of the soil. Cover them very lightly with a bit more compost. It doesn’t matter if they’re not all covered.
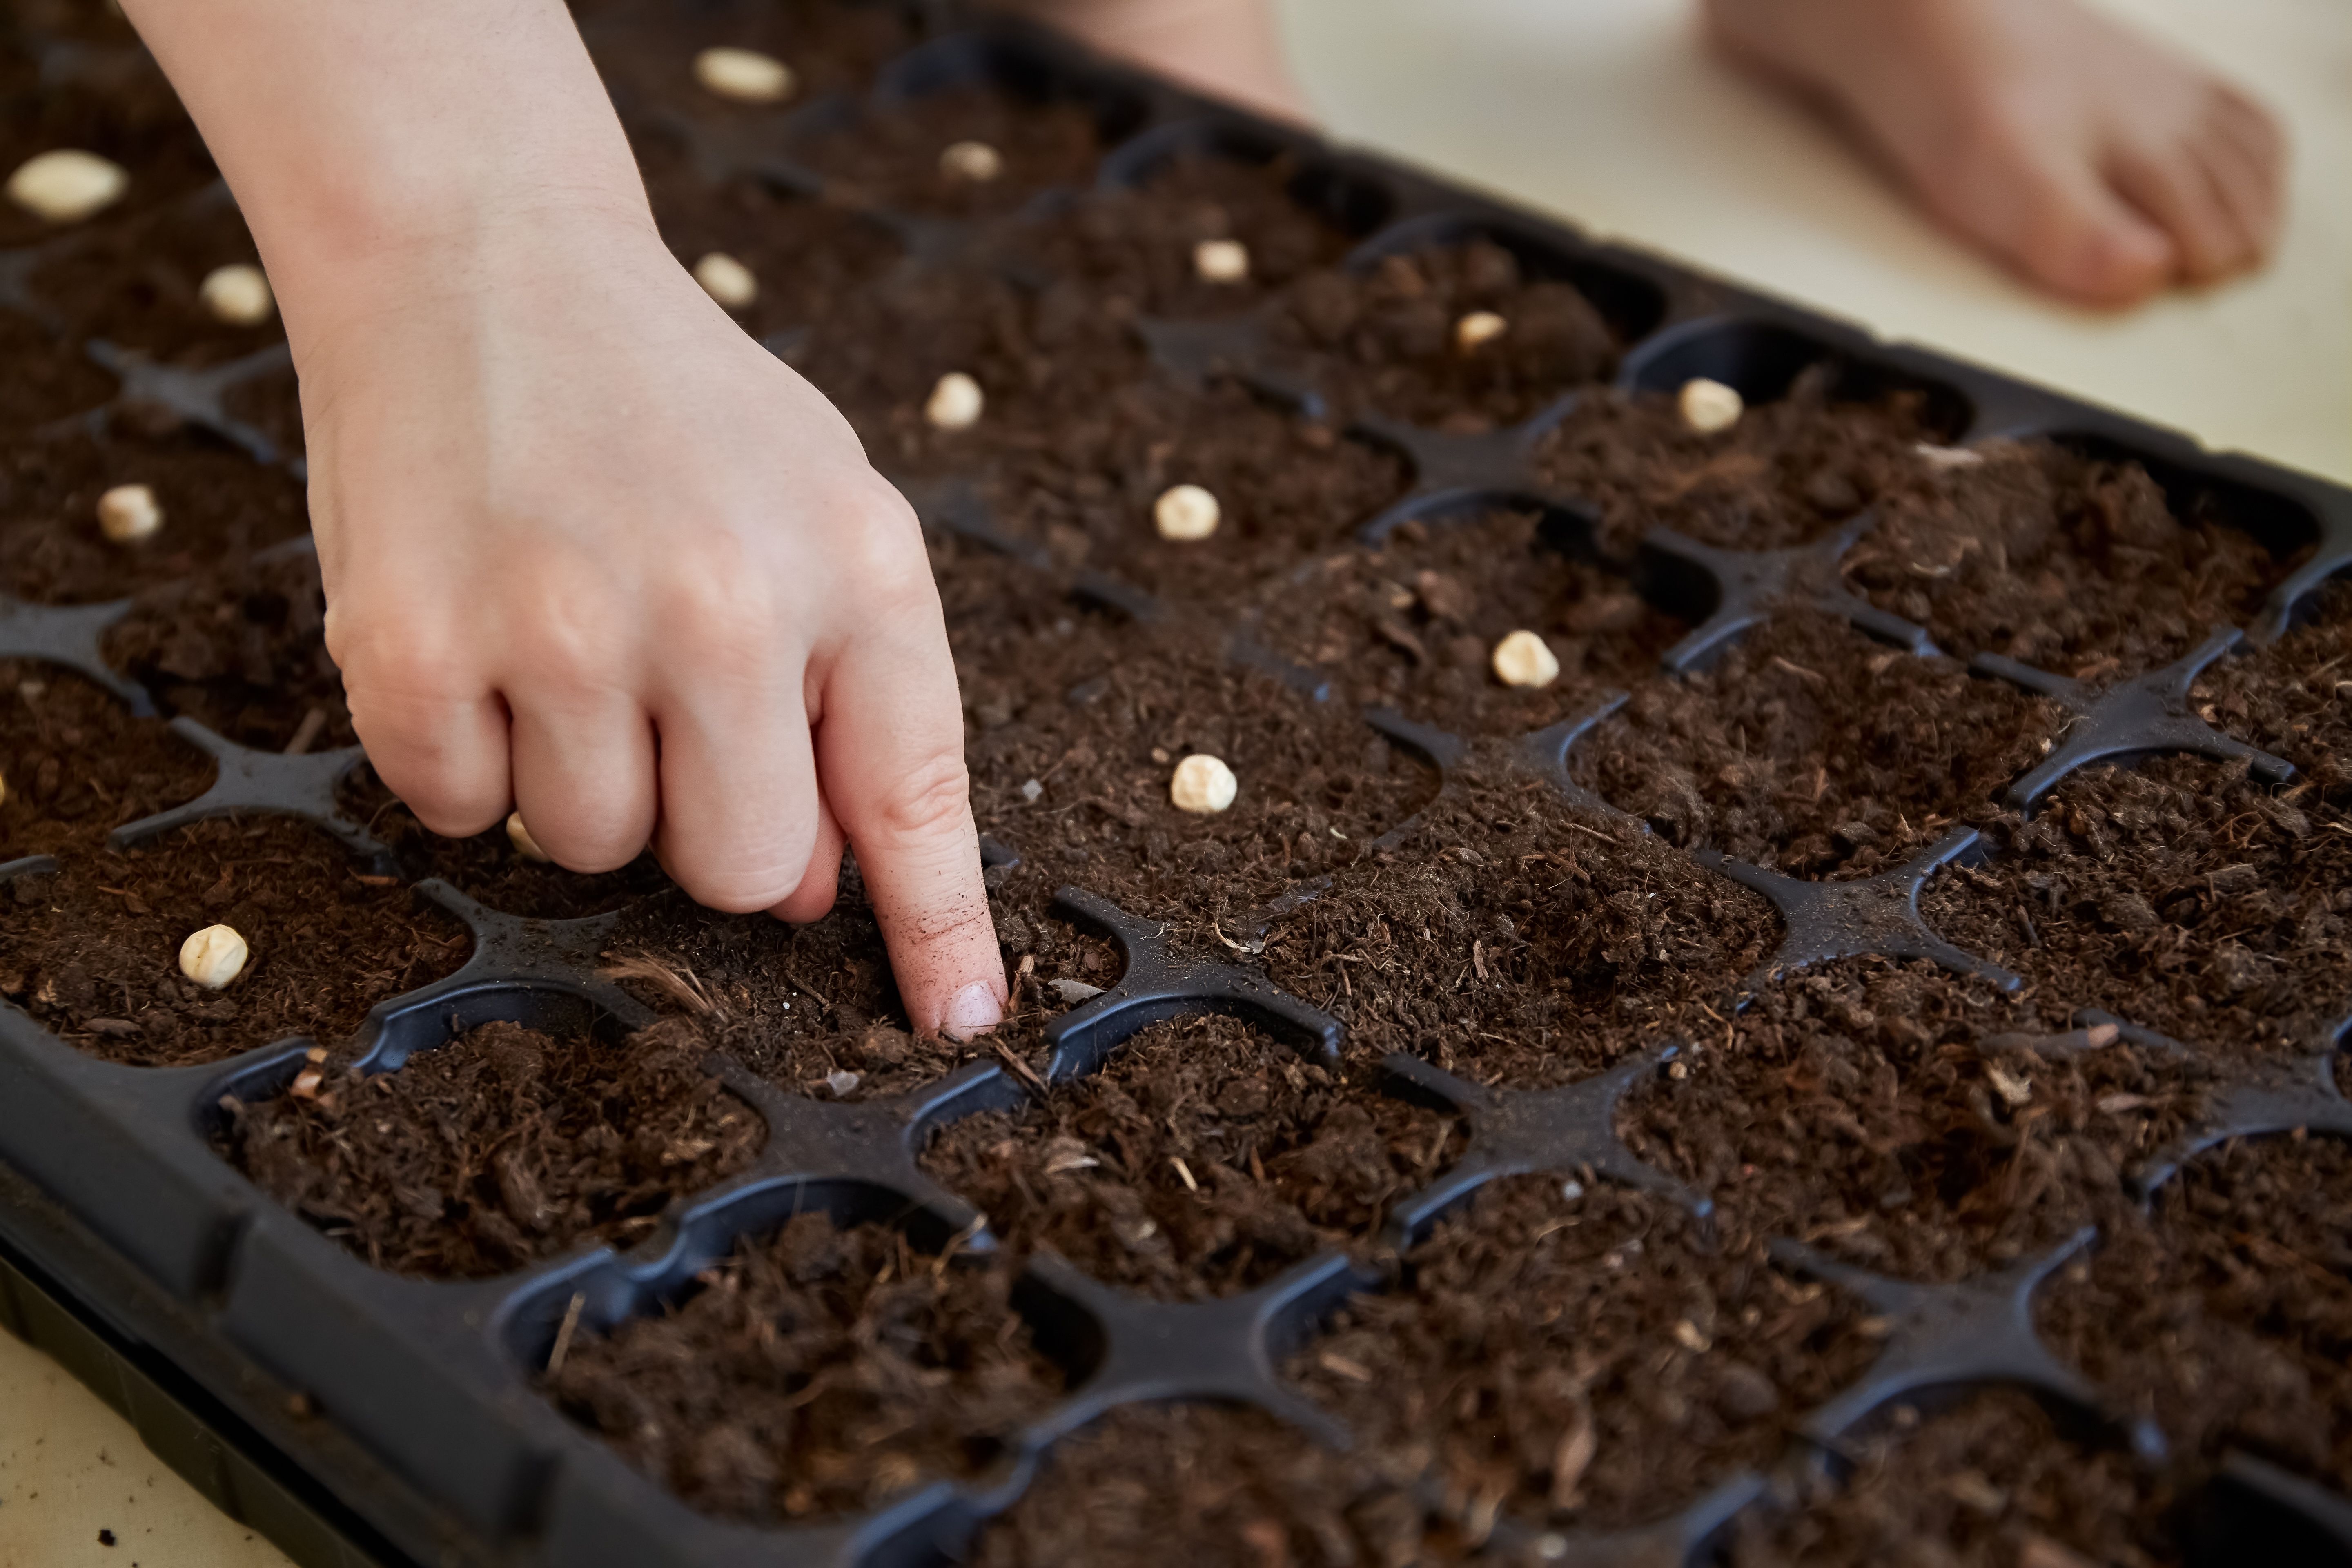
- If the seeds are larger (Sunflower or Nasturtium seeds), then press one seed down into the soil of each module (about 1cm below the soil surface), making sure to cover them over again.
- Using a watering can with a rose (the ‘showerhead’ that you attach to the end of the spout), water the seeds in, making sure not to disturb the soil.
- Cover the tray with a pane of glass or a propagator lid. You can also seal the whole tray in a transparent plastic bag. By doing this you're creating a really hot and humid little microclimate.
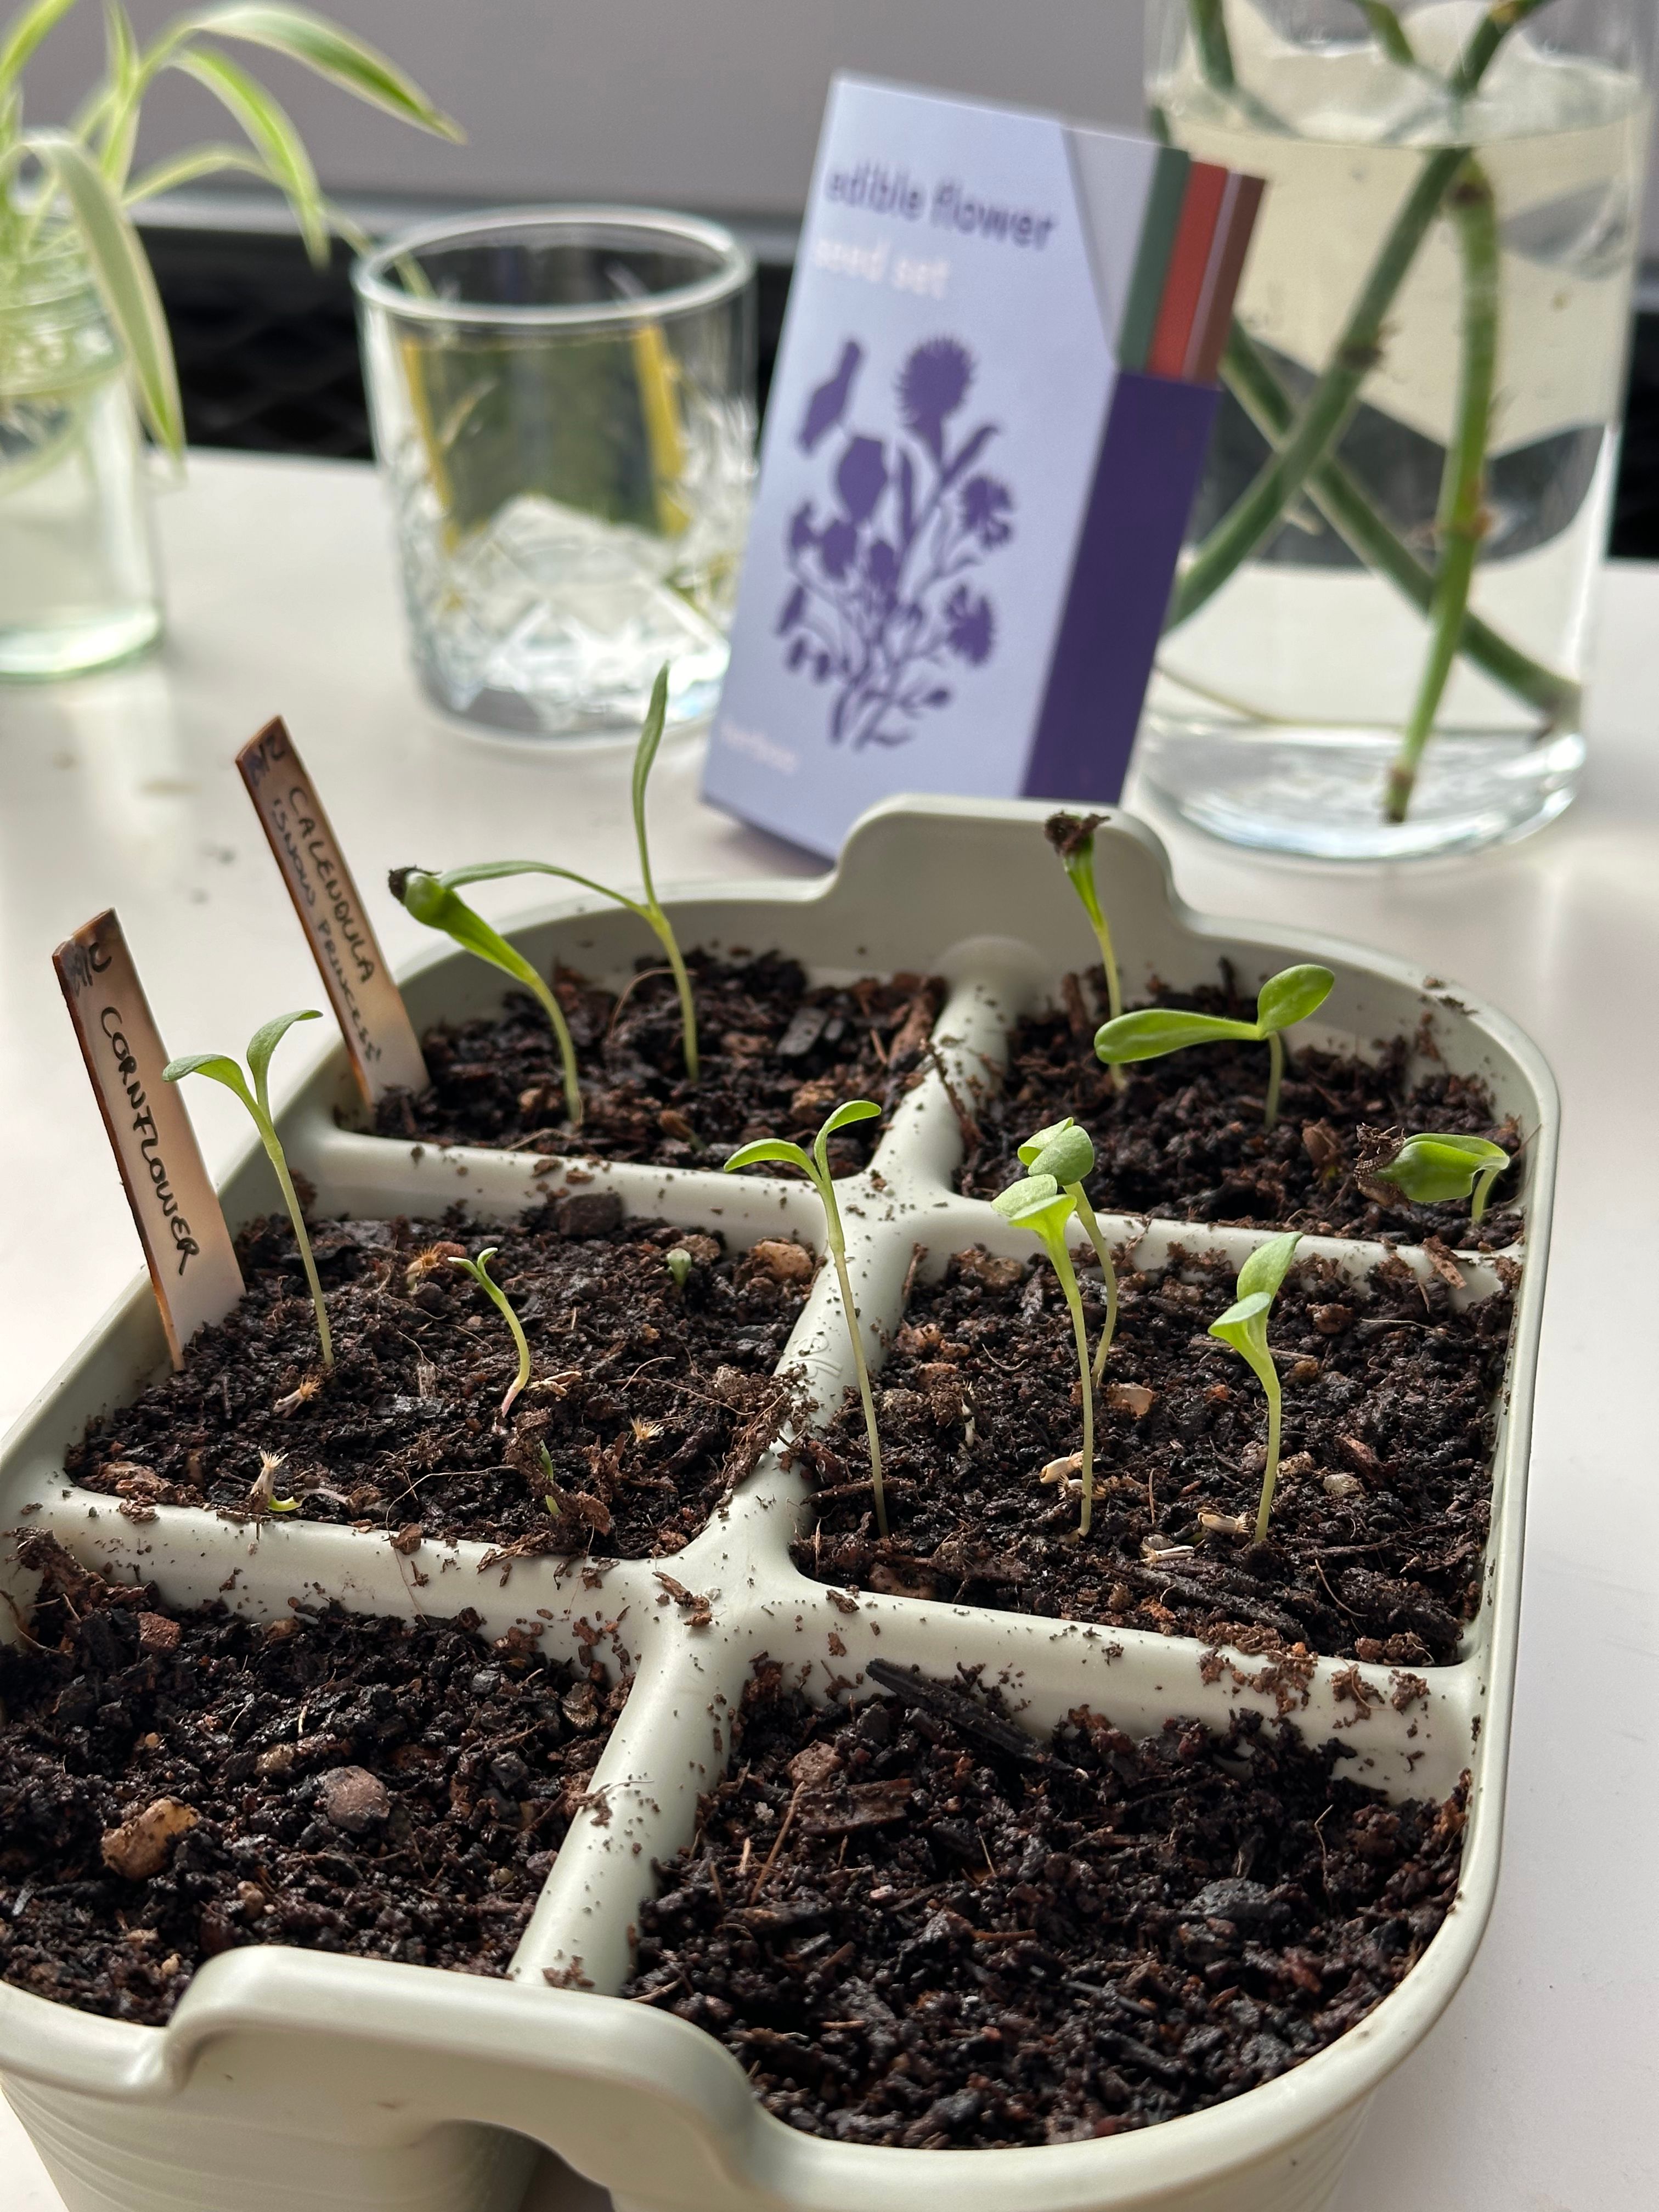
- Pop the seed tray onto a sunny windowsill and wait for your seeds to germinate. Be sure not to let the compost dry out completely, the seeds need moisture to soften their hard outer coats.
- Remove the pane of glass, propagator lid or plastic bag as soon as the seedlings start to germinate.
Some tricks of the trade
- Regularly remove the glass cover, propagator lid or plastic bag and shake off any condensation before replacing it.
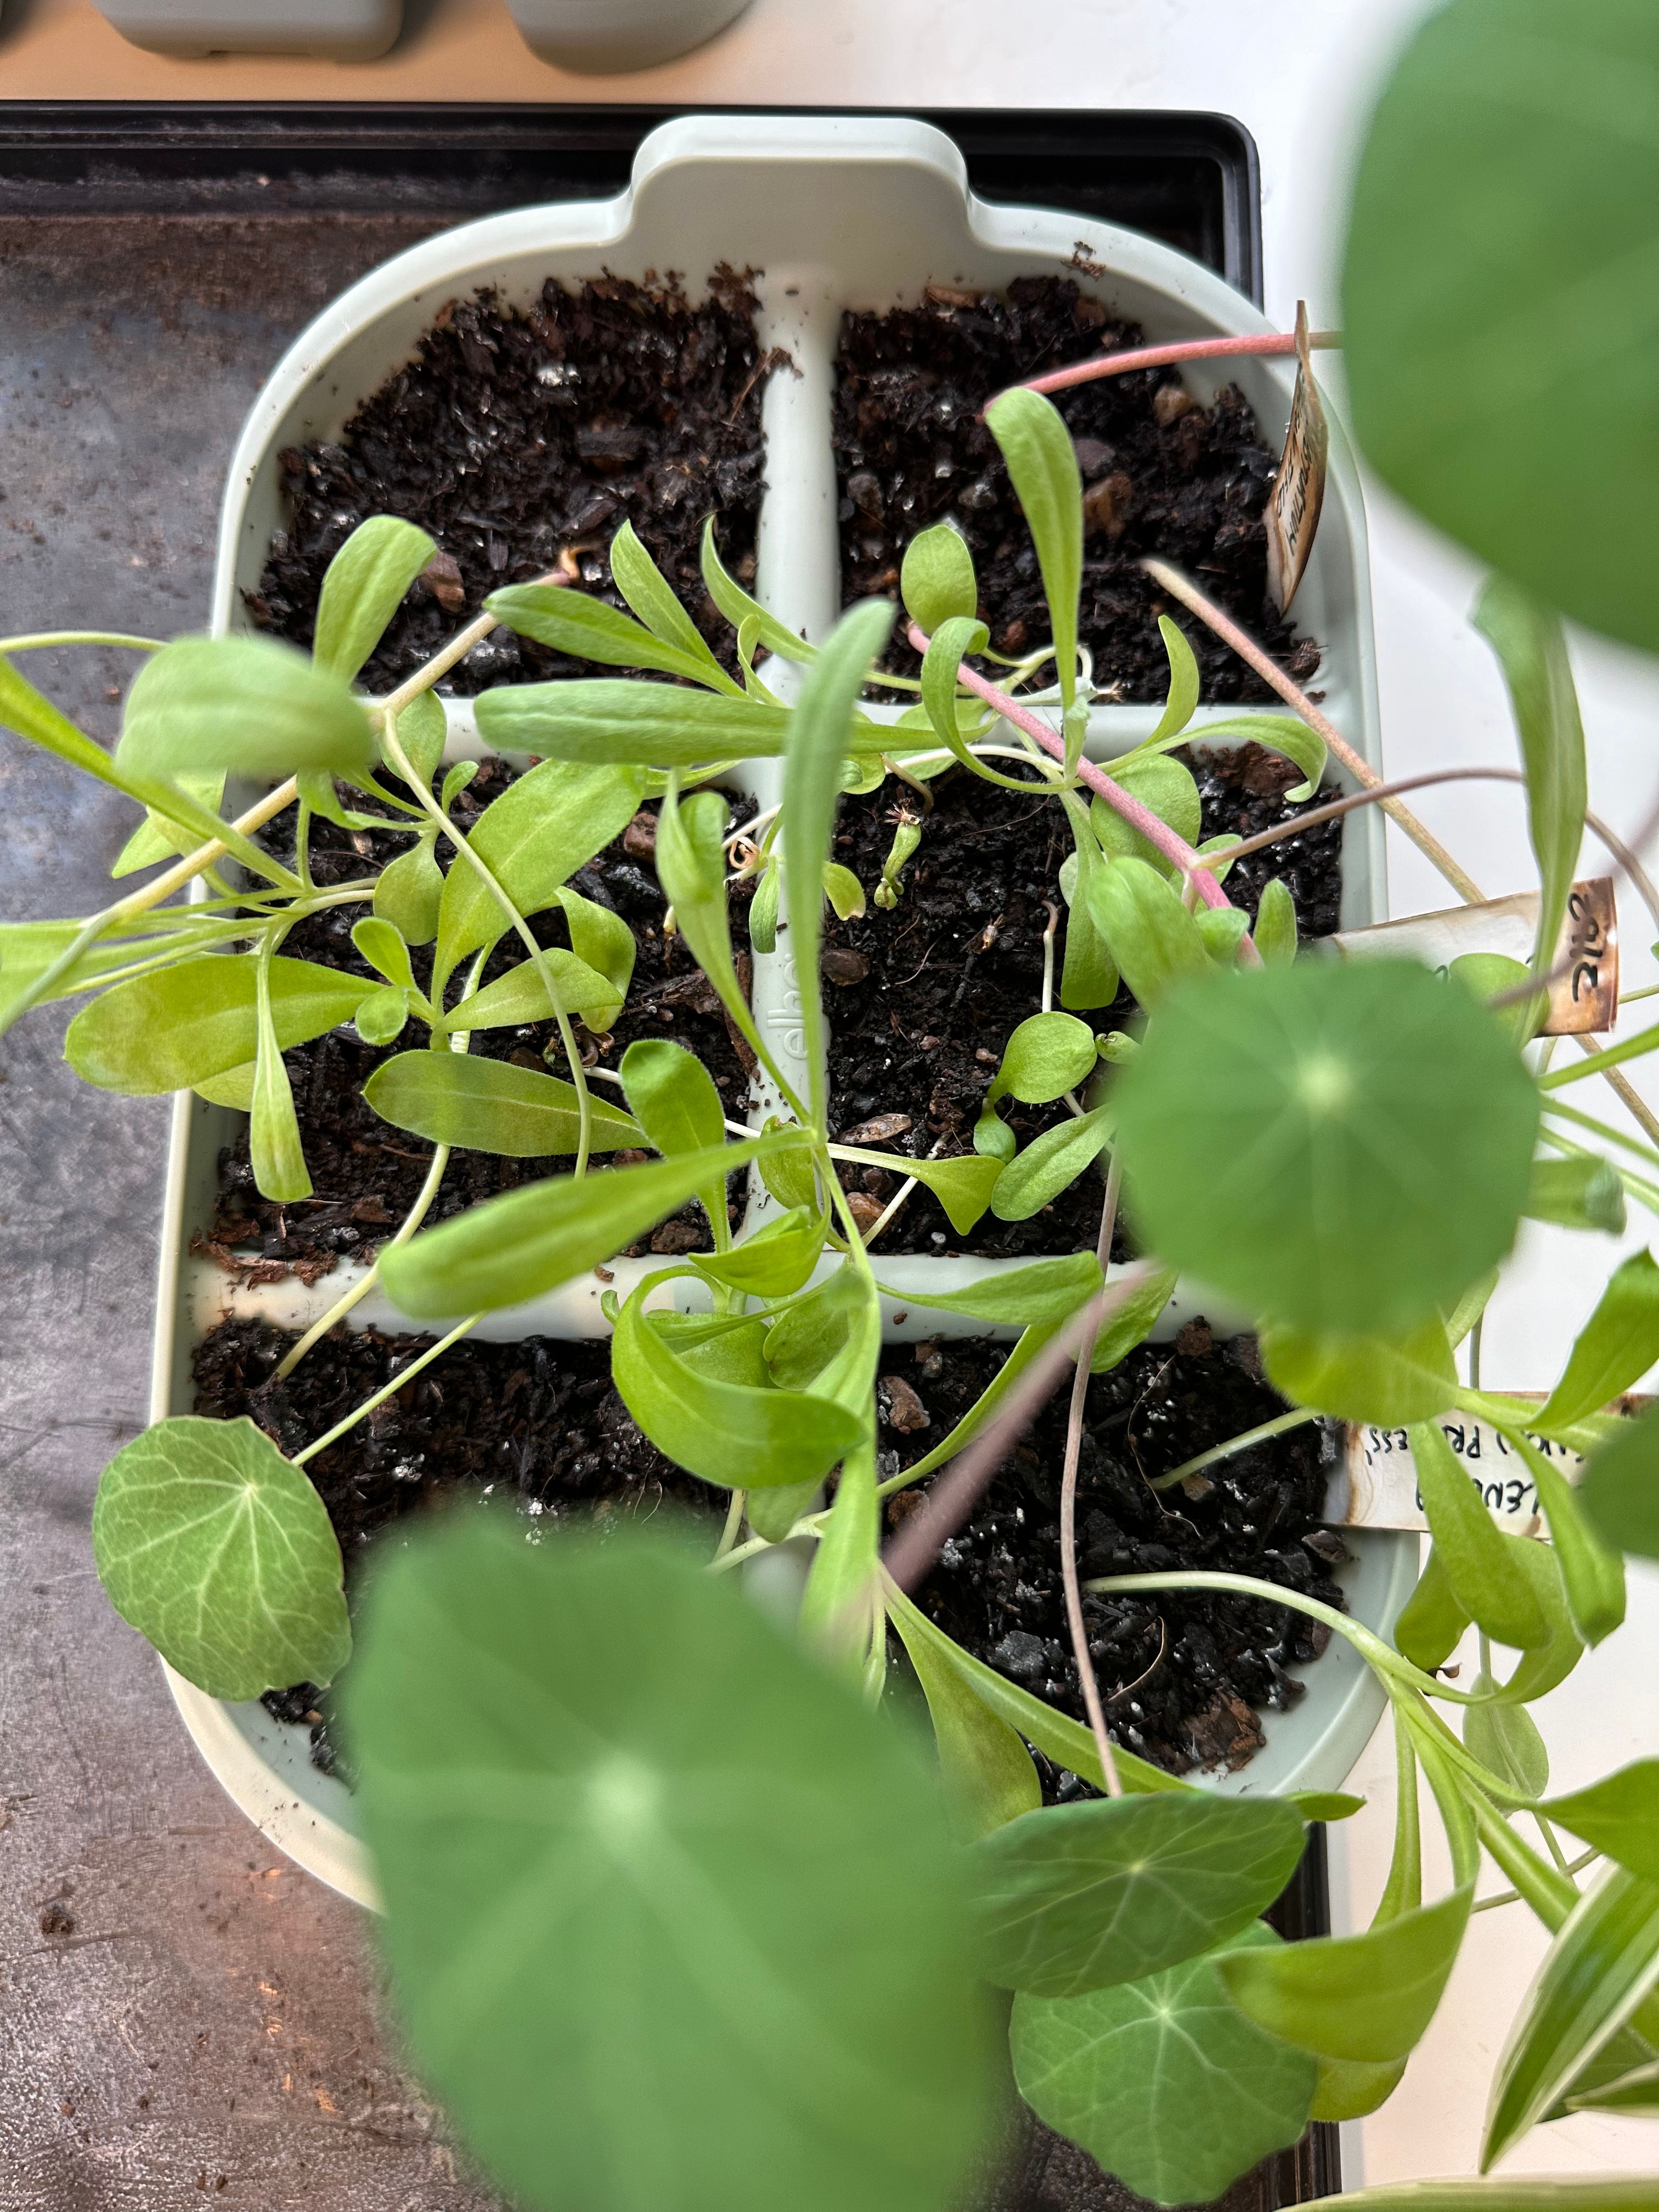
- If you’re growing your seedlings on a windowsill where light is coming from one side, turn the seed tray around regularly so that all parts of the plant get some sun. Otherwise you’ll find your plant babies will grow diagonally.
- Make sure your seedlings get plenty of sunlight as they grow. Too little light and they’ll grow thin, weak and leggy (the fancy word for this is ‘etiolated’). This means that you’ll have less bushy and less sturdy, wind-resistant plants.
- To encourage your seedlings to become bushier plants once they’re grown up, you can ‘pinch off’ the growing tip once they’ve got at least a few nodes on them (notches along the stem where leaves emerge from). This redirects energy back down the stem.
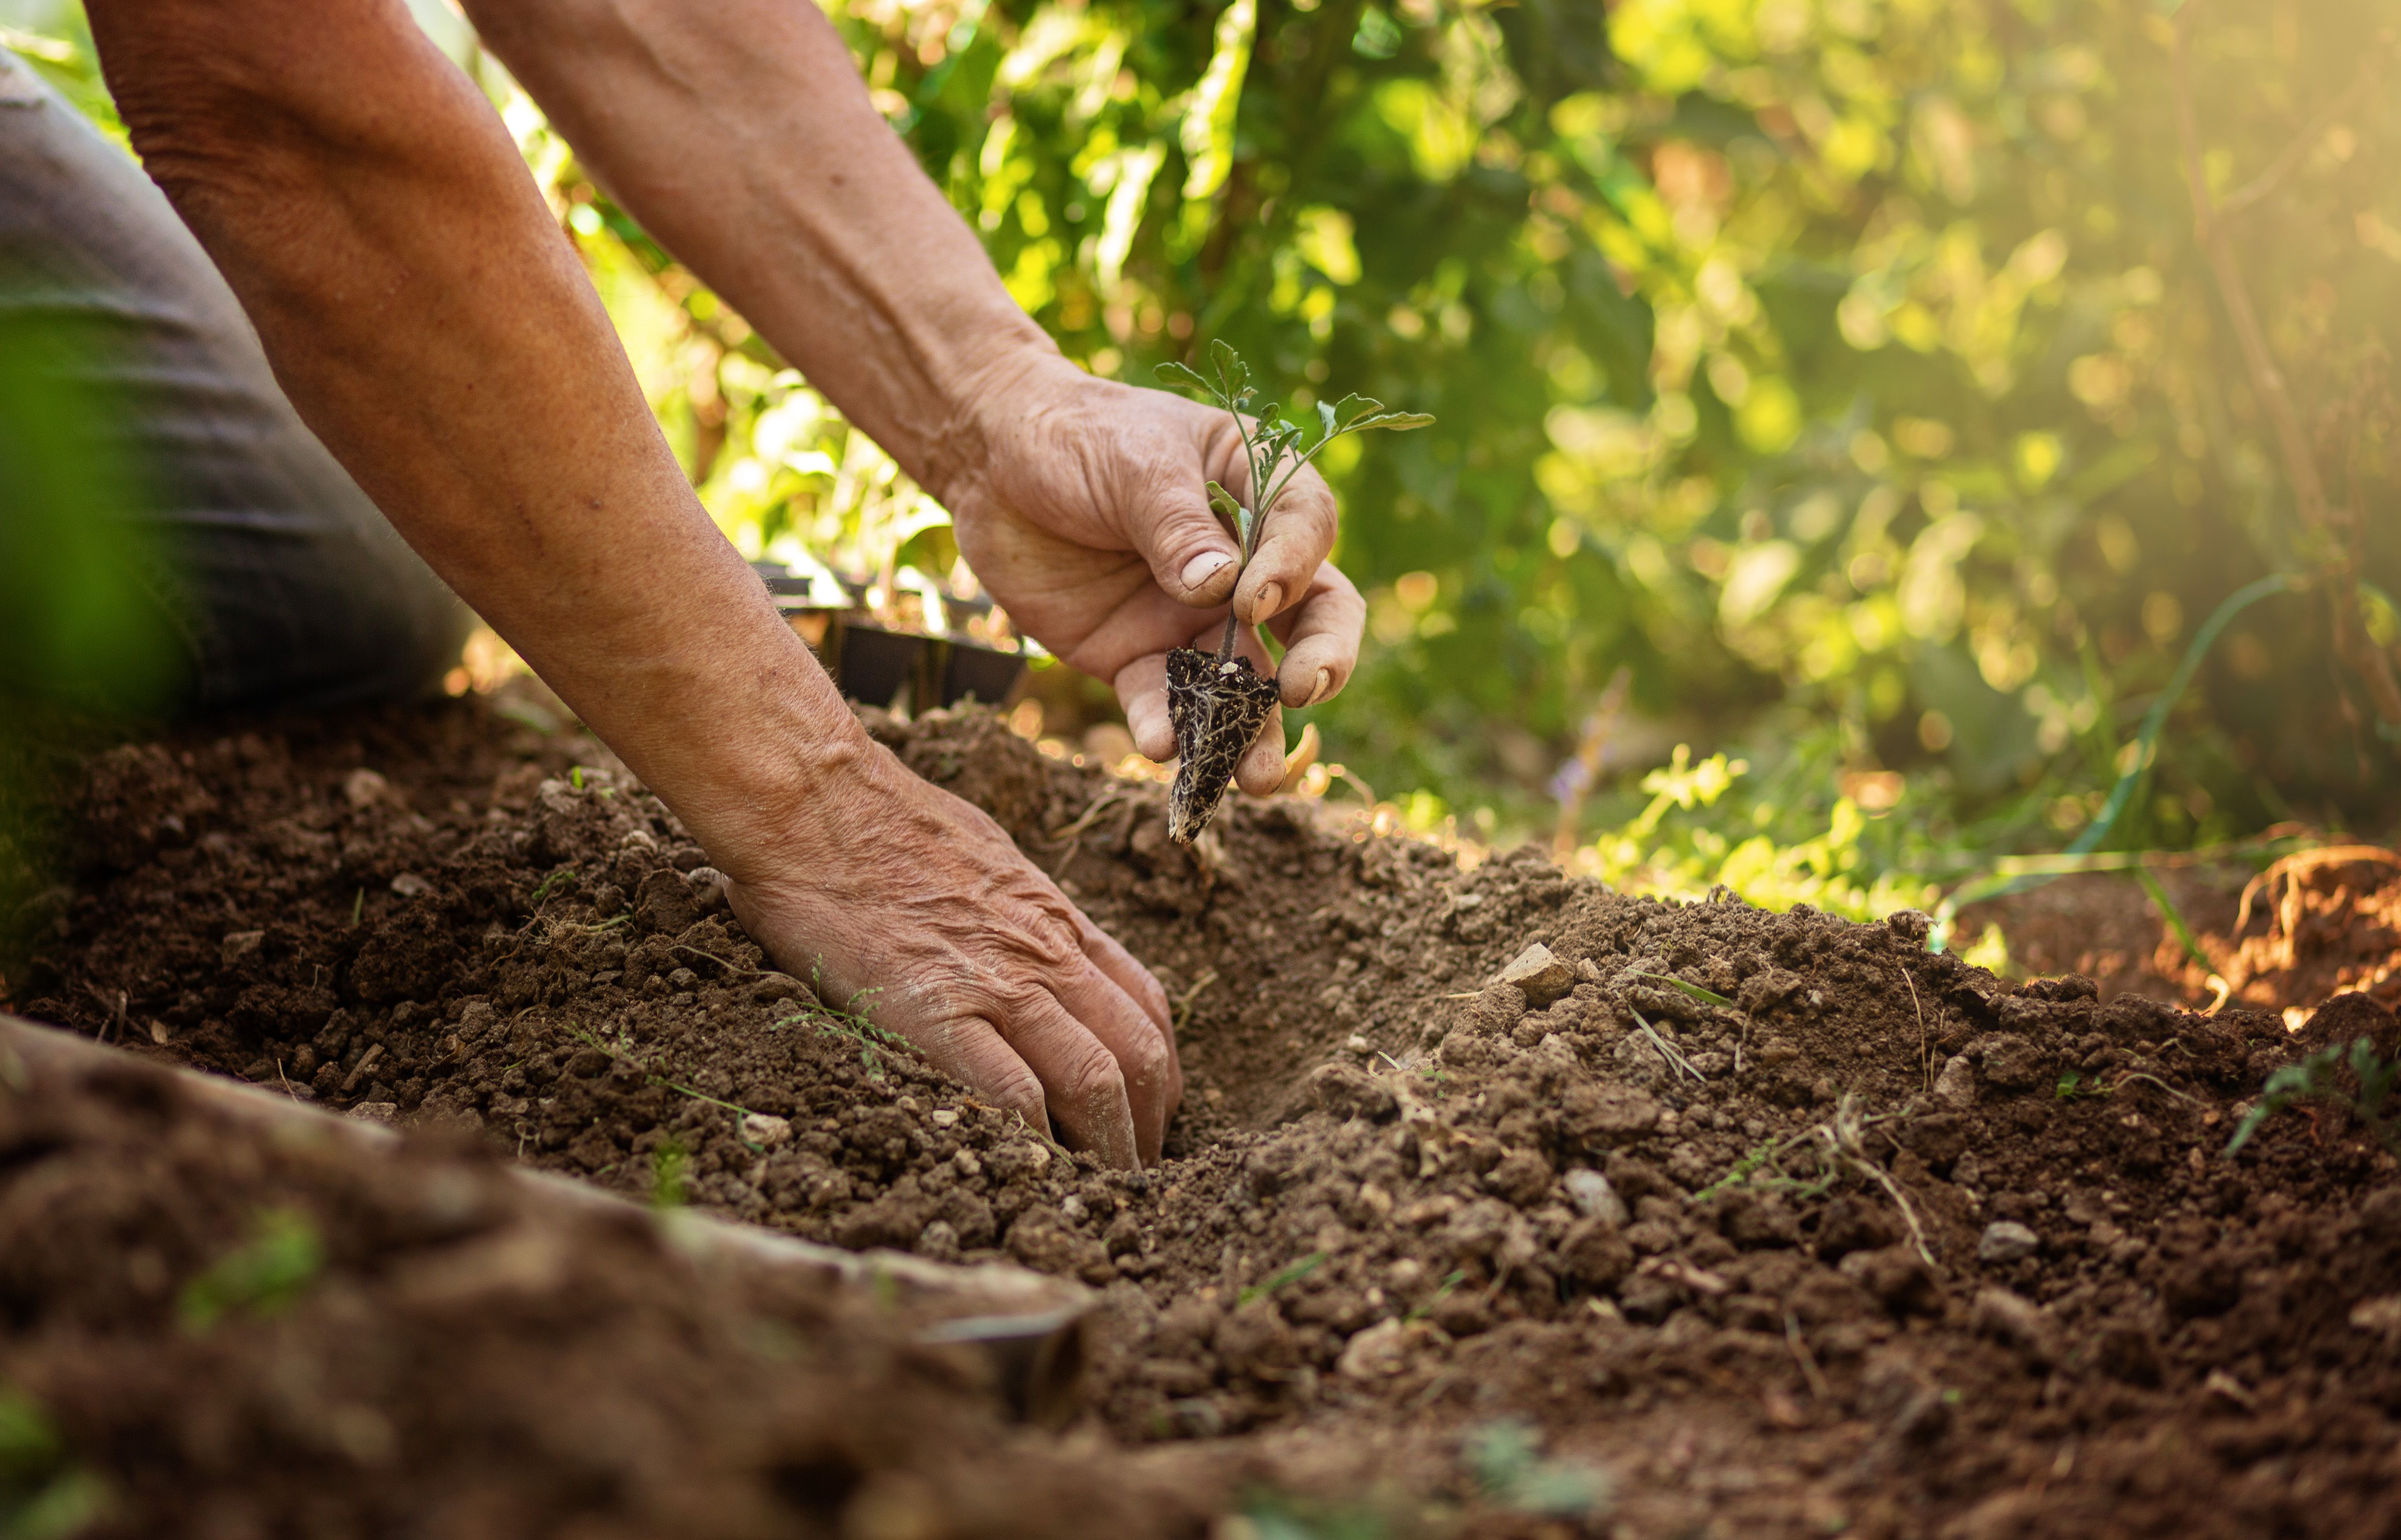
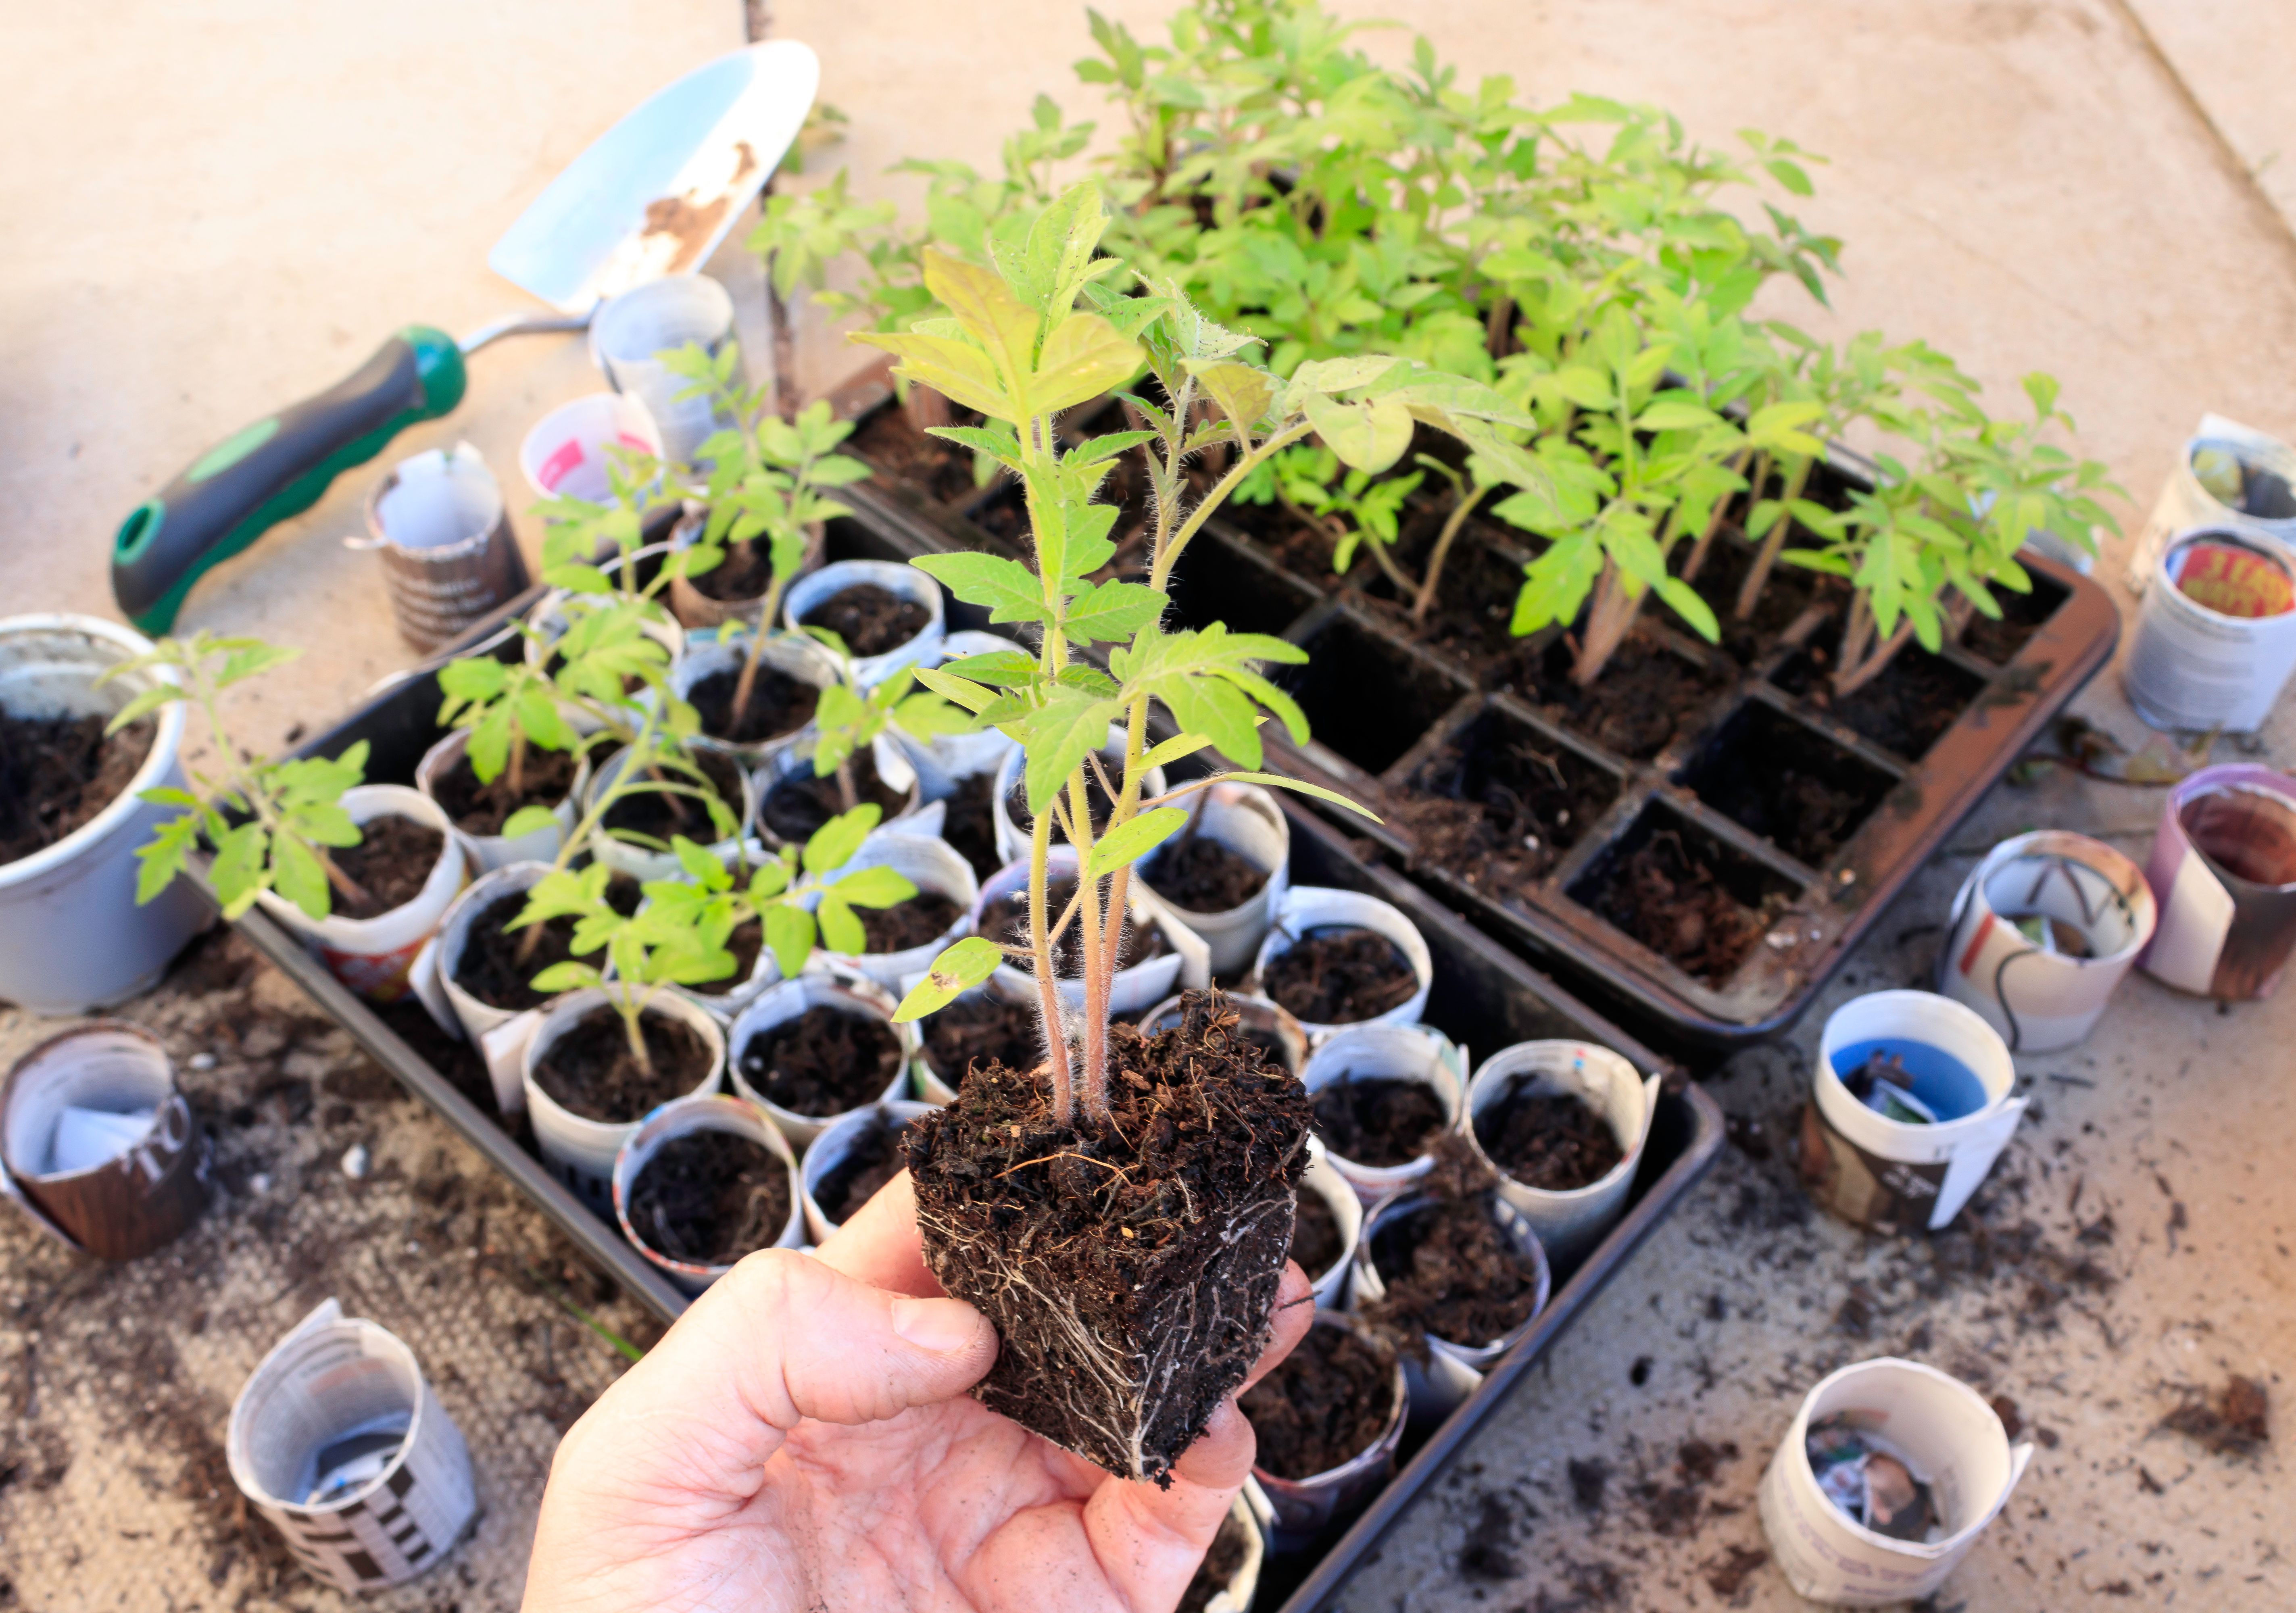
Once your seeds have germinated, wait until the roots have filled the modules and then plant them out directly into your garden or outdoor pots and planters. Keep them well watered until established and enjoy watching your garden grow. You are now a fully fledged plant parent.
In this article


Rewild your inbox
Plant tips. Special offers. No spam.
You might like

Create your own plant care station
Create your own plant care station
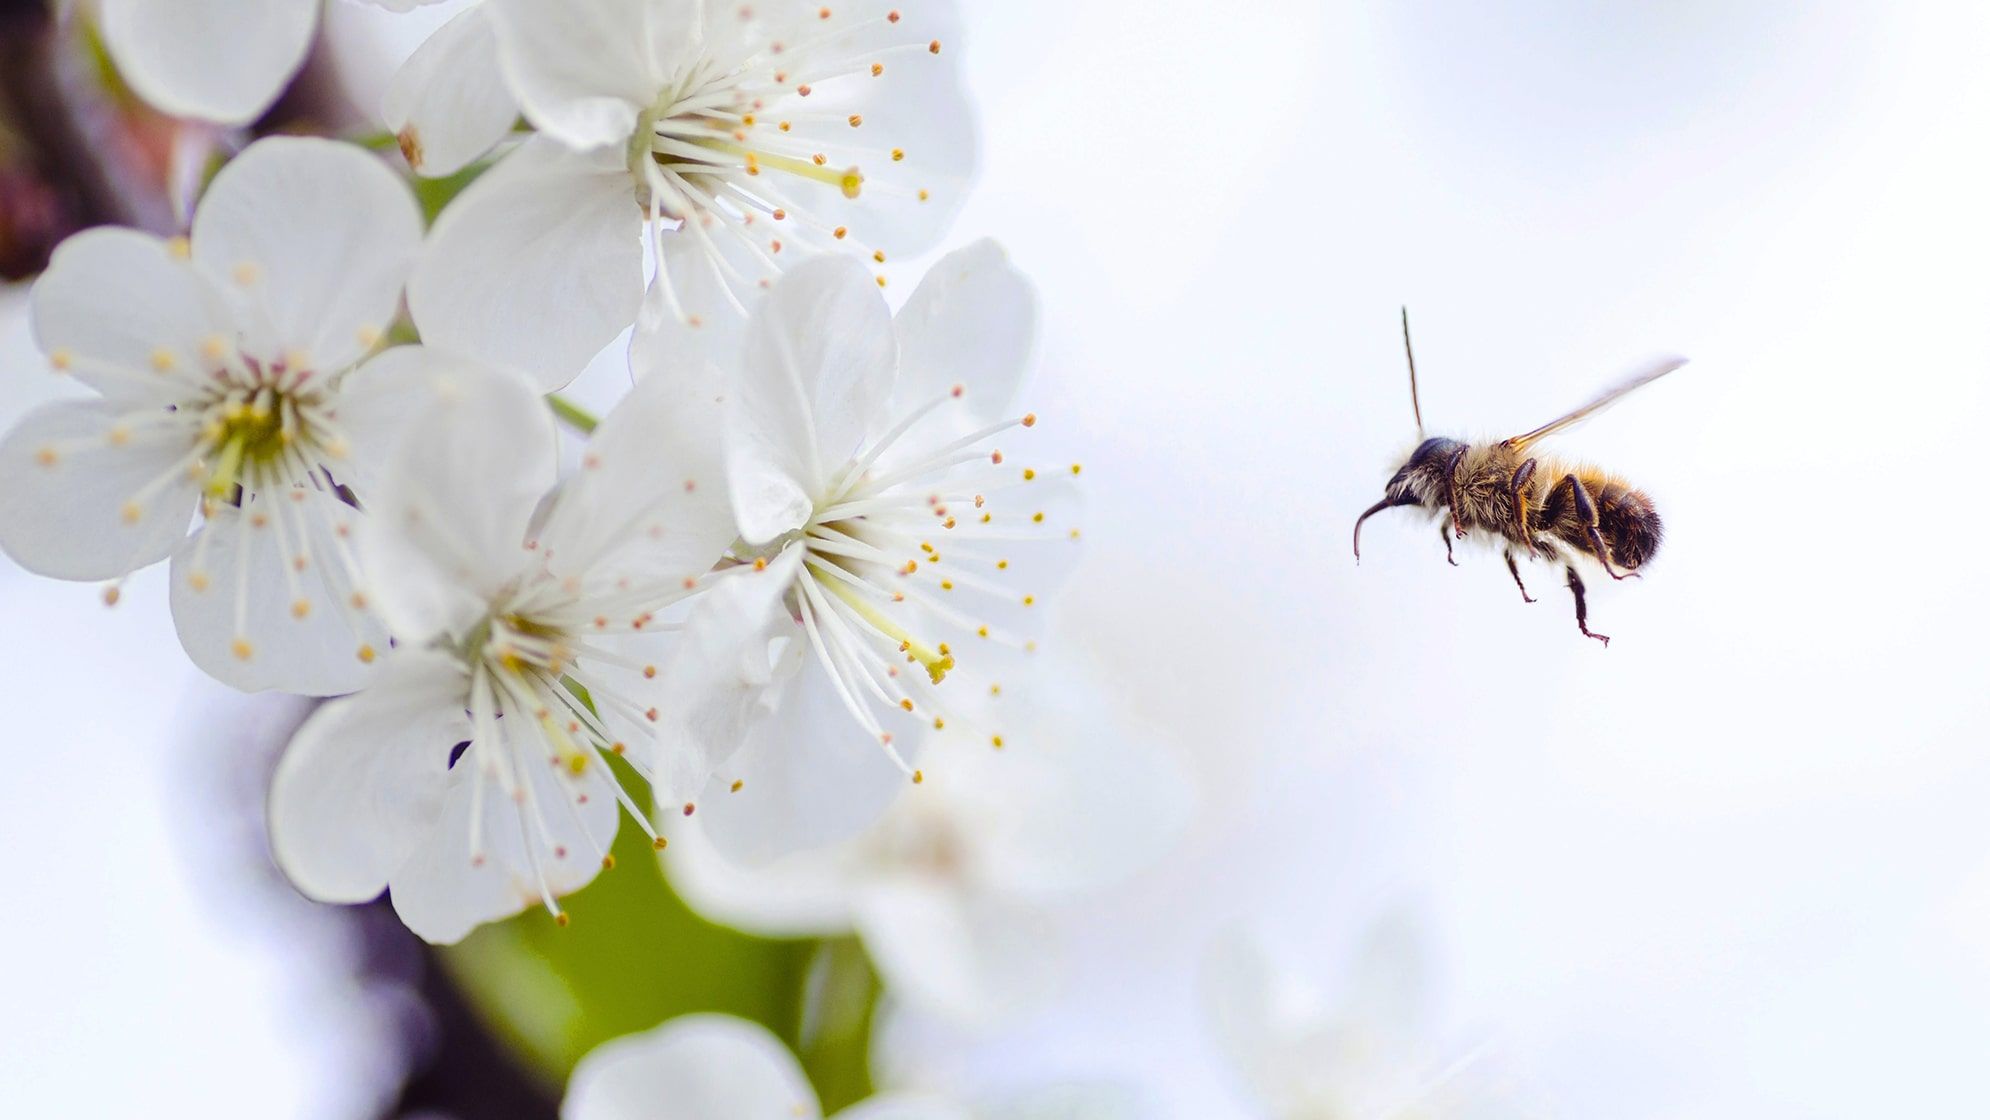
Make your outdoor space bee-friendly
Make your outdoor space bee-friendly

Perfecting pet-friendly outdoor spaces
Perfecting pet-friendly outdoor spaces
